All you need to know about photographing interiors
If you a photographer, read on 🙂
if you are looking for a photographer, which will prepare a interior photo for you, click here and write to us:
Interior photography Munich
There is no one, universal recipe for excellent images of interiors, because much depends on the purpose of photos we will do. Completely different photos of the apartment that are to become an illustration of the offer of sales or rent real estate, otherwise you should approach photos to present the appearance of a flat before and after the Home Staging metamorphosis, and even differently to photos that are going to the warehouse. Or on the blog 🙂

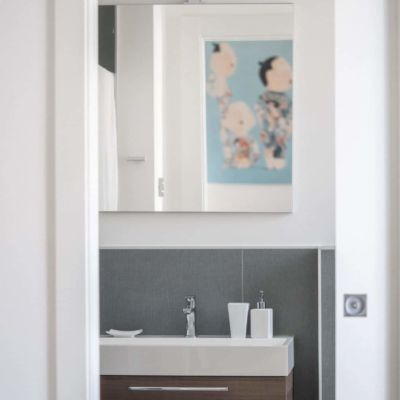
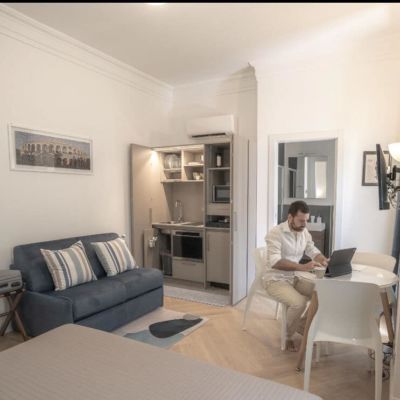
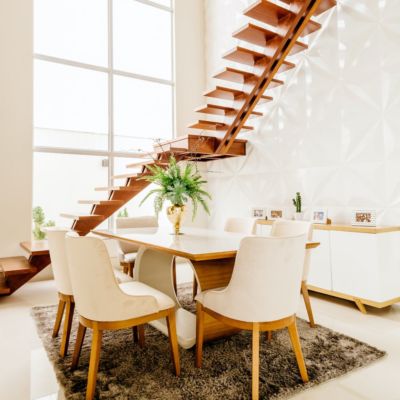
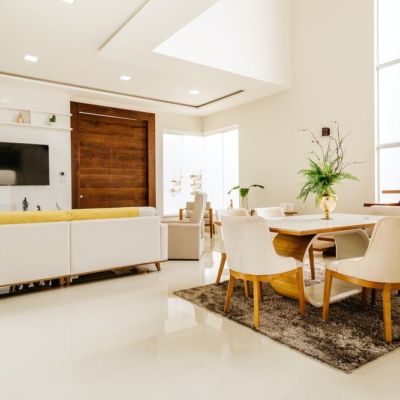
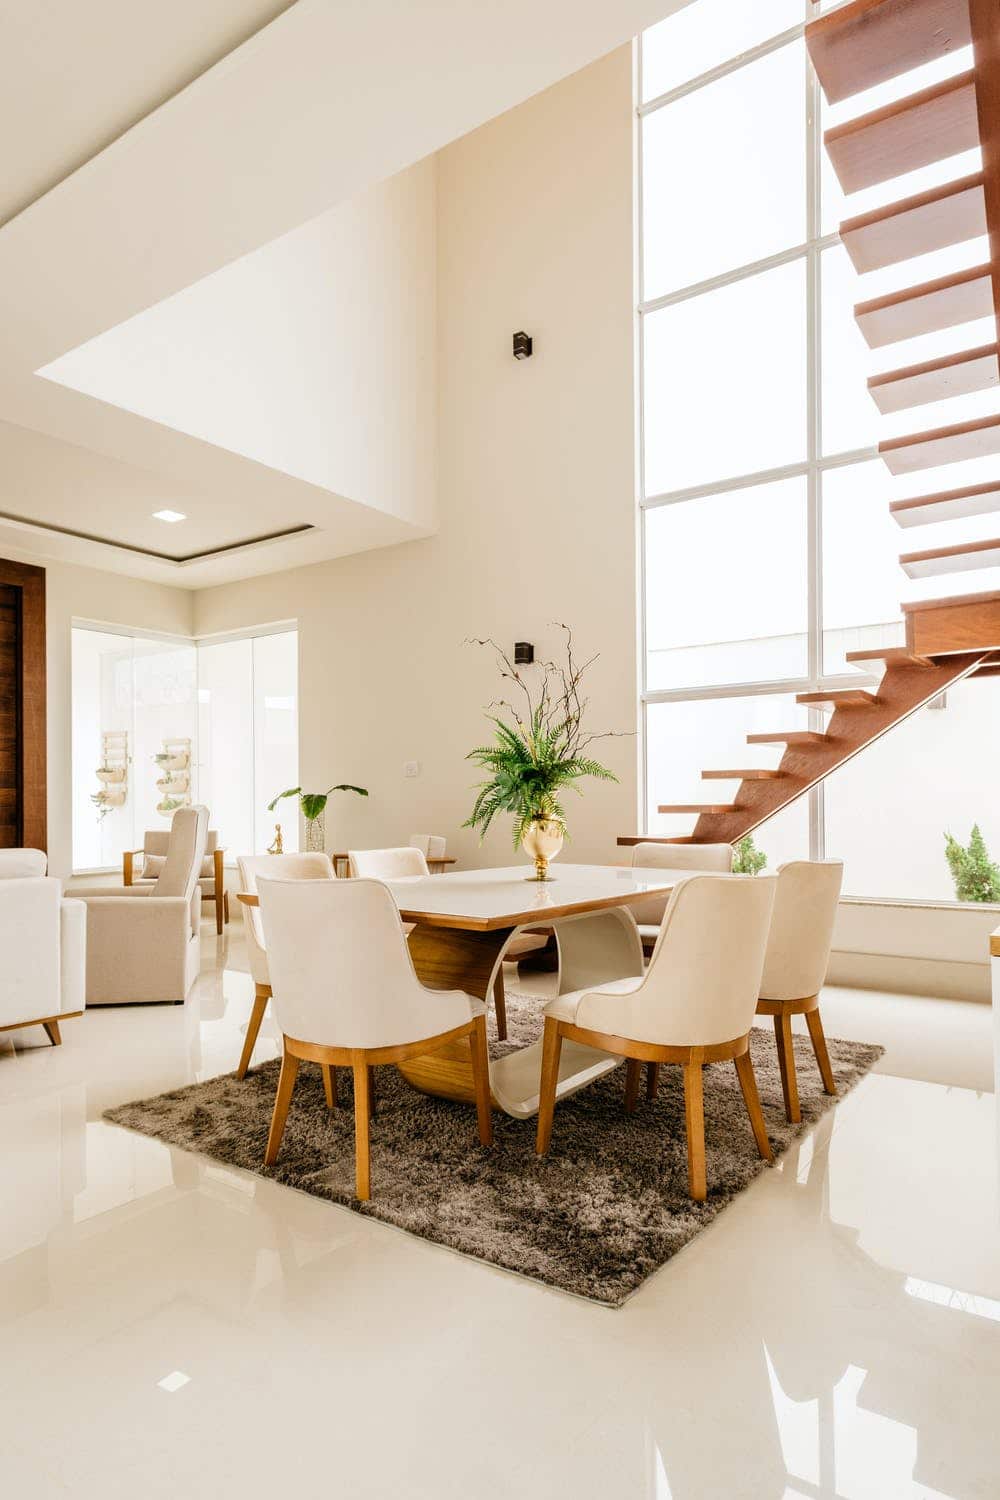
Real estate offer – here is important to show as much as possible to see on the basis of photos. It is worth taking photos from each room angle (if possible), showing the neighboring walls. The details are less important here, which does not mean that they are “prohibited”, especially when the interior has some exceptionally interesting details that constitute its strong site (eg beautiful, wooden floor, brick or stone on the wall, beautiful furniture – if they are on Farming equipment). However, we strive to show the space to be interested in purchasing or rented a real dimensions of the interior. We emphasize the strengths of real estate.
Metamorphosis – before / after – here we focus on showing the change. It’s best to make identical staff, before metamorphosis and after it, with exactly the same place. We focus on new elements and solutions.
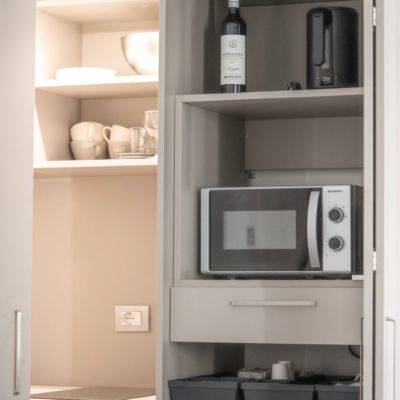
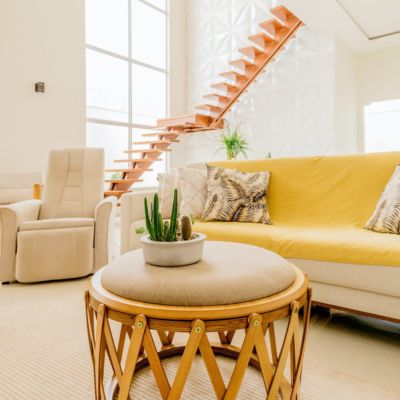
Warehouse, blog – here we have the highest freedom. It is worth combining both photos showing the entire room as well as those with narrower staff and details. We focus on showing the strengths of the interior and show only the most attractive elements. Individual framing and interior styling is necessary. We can go really far when shooting details and try to give the climate in the interior.
Interior preparation for photo session
How important is the styling of the interior before the session? It is certainly not absolutely necessary, but applying greater attention to the appearance will have a huge impact on the final effect.
If you think that all the interiors you are every day exactly the same as in the pictures, unfortunately I have to worry you. As before the fashion session, clothes must be combined with add-ons and iron – we should approach the interior photography as well.
In the first place, always “clean” planned staff and remove all unnecessary elements. Garbage, accidental items, or strona color stuff, not matching the rest of the arrangement – it worth getting rid of.
- If possible, hide the cables, non-tested garbage baskets visible on top.
- Of course, we rub the chicken, wipe the visible streaks on the windows (believe me, do not you want to do it in Photoshop)
- We balance curtains and curtains, either nicely connect them (if necessary – press *)
- We smooth any bedspreads and coverings or bedding (if necessary, iron *)
- We improve standing pillows and give them a nice shape
- In a fancy way, we accuse blankets, plains, etc.
- We align the curve hanging images of paintings
- We pay attention to equal distribution of tablecloths or washers on the table* When pressing any elements before the photo session, steam presses are well-checked, they are quick and convenient to use
It’s what camera is taking pictures is indifferent, it’s important to have a removable optics and a largely large matrix, but it is not categorical. What to pay attention is the focal length of the lens described in millimeters. When we want to show the entire interior, it is worth using a wide-angle lens, i.e. from 10 mm to about 20 mm, but it can not be a popular fish eye that does not adversely distorts the entire interior. The angle of view of such lenses from 150 to 170 degrees. You can embrace the whole room and show how furniture will look like in it. For catalog images where we want to show only one element of the equipment, the focal lengths of 35 mm will be ideal for 135 mm if we want to show the details. For the orientation, the angle of view of the 50 mm lens is about 40 degrees.
In addition to the camera and lens, it is worth to have a tripod, which first allows you to perfectly level the camera and secondly, stabilize it when the exposure time is very long (if the time is longer than 1/20 seconds, it is impossible to get a sharp picture from your hand).

Even the worst picture can be nicely retouched and even the most beautiful picture can be broken down at home. Retouch is a form of art that allows you to extract from raw material from the matrix to be the most beautiful. In this description, there is no possibility to describe complicated processes and bases so I will present it as soon as possible, and anyone who interestes the subject will be able to expand this knowledge about information from books and the Internet.
Pictures on the camera can be saved in 2 ways, i.e. in JPG and RAW format.
JPG These files are edited and compressed by the camera, theoretically after copying them to the computer are ready to show the world, but this is not as colored and it is always worth the material 2x to check if everything is well exposed. To edit JPG files, even a simple free program, eg PhotoScape.
RAW format is a crude 1: 1 image collected from the camera matrix. All information about colors are included in it, which only could collect the camera. That’s why RAW gives you huge editing capabilities and only in such programs like Lightroom or Dxo Optics Pro you can prepare JPG files yourself, according to your own expectations and taste.
Hdr
It is also worth mentioning HDR technology, where a few shots of the same frame, made with different exposure times, are combined into one whole in order to obtain a perfectly exposed photo in each fragment.
Remember about lines
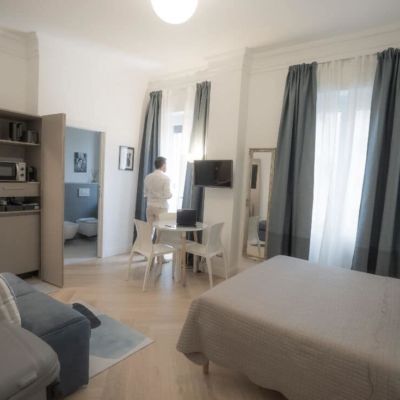
The golden principle of technical photography is to show the maintenance of perpendicular relative to each other vertical and horizontal lines. Simple walls and simple furniture allow you to show in the frame of reality free of distortion, thanks to which the proportions of elements are identical as in reality. Many new cameras have an electronic spirit level, you can also buy such a traditional, mounted where there is a place for a flash.
Camera height above the floor.
The correct position of the camera is from 80 to 120 cm above the floor. Depending on the situation, this may be slightly lower or above, but this should already be assessed during the session.
Carriage art
In interior photography, it is extremely important to resist framing photos. We should make conscious decisions regarding what will be visible in our squad. “We cut the” space in the right places, trying to show her most attractive.
Sometimes it is enough to move the lens by a few millimeters so that elements have disappeared from the frame, which are unnecessary in it – eg any cables, sockets, garbage, or components do not match all, too intense colors. For example, the red detail in a bright, toned space will totally disturb the entire photo, will introduce a mess in our composition. Sometimes, crying is not possible and unwanted elements can be getting rid of only in Photoshop. Only why make your job if we can take care of such a lot at the shooting stage?


Additional lighting in interiors
In interior photography, various types of additional lights are used, and most often it is flash. This is a very extensive topic that is difficult to include short and superficially. If you have never had to deal with flash lighting and, for example, you start to play with reporter lamps (these are the ones that we add to the camera’s body) then instead of targeting the light to specific objects, it will best reflect them from the ceiling (if they are white or in bright, Neutral shade). Reflected from such a large blender flashes will scatter and evenly enjoyed the whole room. Flashlights can also be released remotely and properly illuminate, for example, some dark angles in the room.
Suitable time for photos
Not without significance will also choose pores and weather for shooting. Of course, you will not always have an impact on it. However, I most often photograph or in the morning or before sunset or after sunset. It all depends on the nature of the interior. If it’s supposed to look very bright – choose a bright, sunny day. In turn, more climatic, darker interiors with an interesting lighting, they look great when they are already dark behind the windows. Many my session did from night to sunrise. Thanks to this, I could show the premises in both dark and bright edition. A lot depends on our and customer and customer capabilities. Remember, however, that during the day you can have a white balance problem. In the interiors, most often you find a lighting of 2800-200k, while sunlight is about 5500k.
When photographing usually set up in the corners to show the widest perspective, which causes the interior to look very spacious. When taking pictures in large premises, I start to shoot from the selected page, and then move a few meters forward. Then I turn to the other side and repeat the procedure. I often change the height of the camera, depending on whether I photograph a zone with low tables or bar stools, but all the time keeping with straight lines.