
Search for a sincere truth, or how to make a good portrait
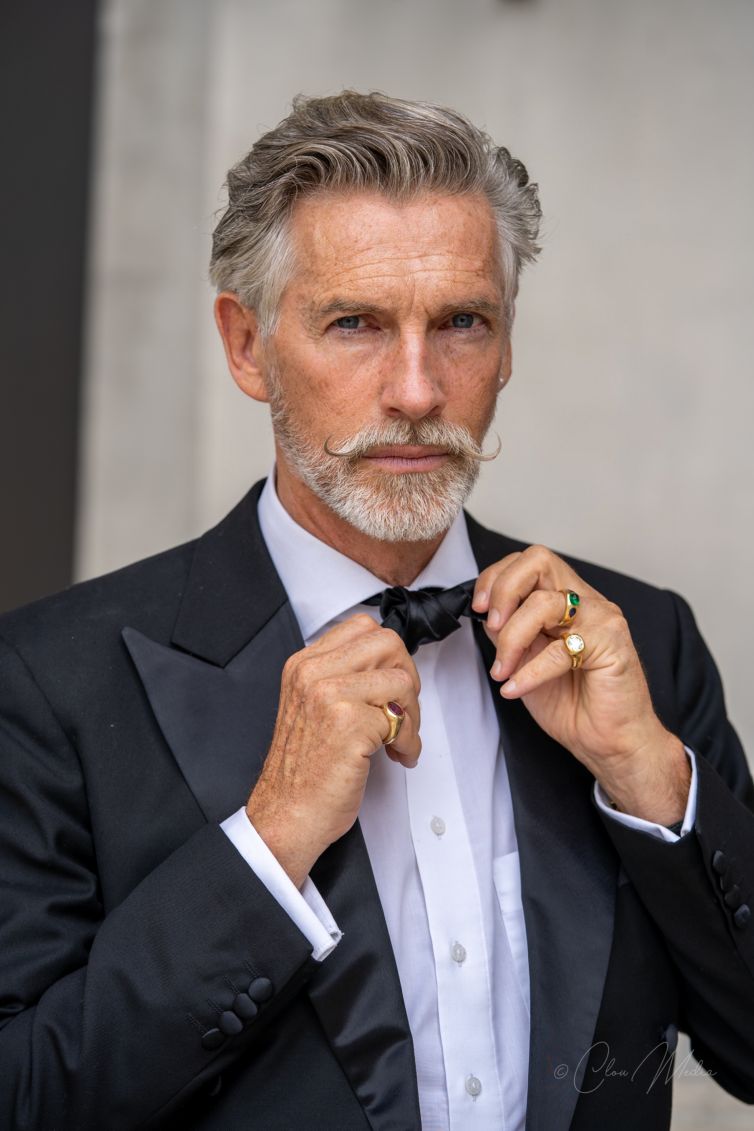
The most important thing in the portrait, as in all areas of art, is the search for truth.
Danish film director Carl Th. Dreyer (1889-1968), one of the most famous twentieth century, said:
I am interested in how to properly show the most sincere feelings of figures in my films
In art, a man from the dawn of history was the most frequently presented motif. Portraits in a non-state form, bust, horse harvest portraits – these are topics that have been very inspired by artists over the years. The most famous picture in the world – Mona Lisa – is also a portrait.

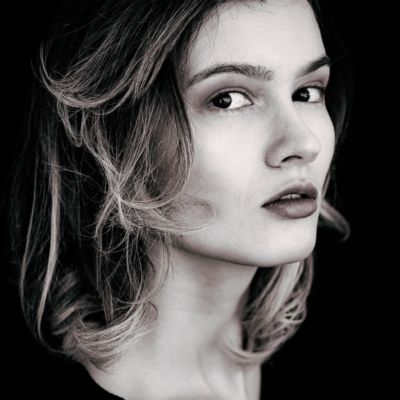
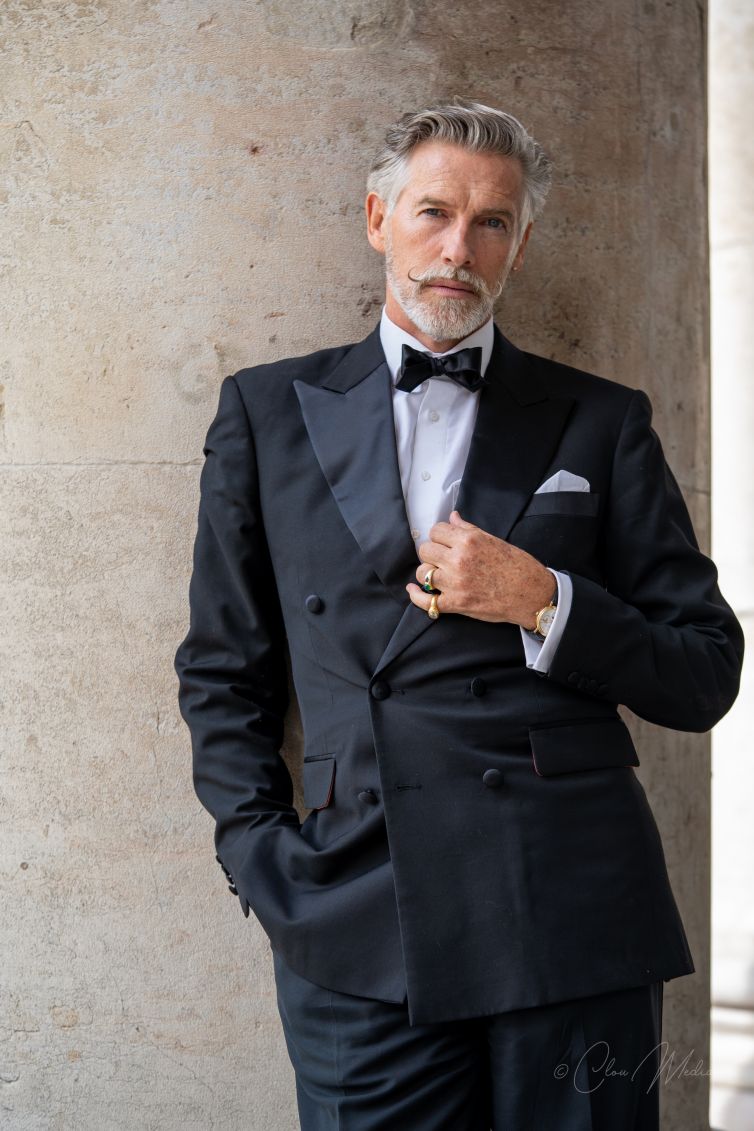
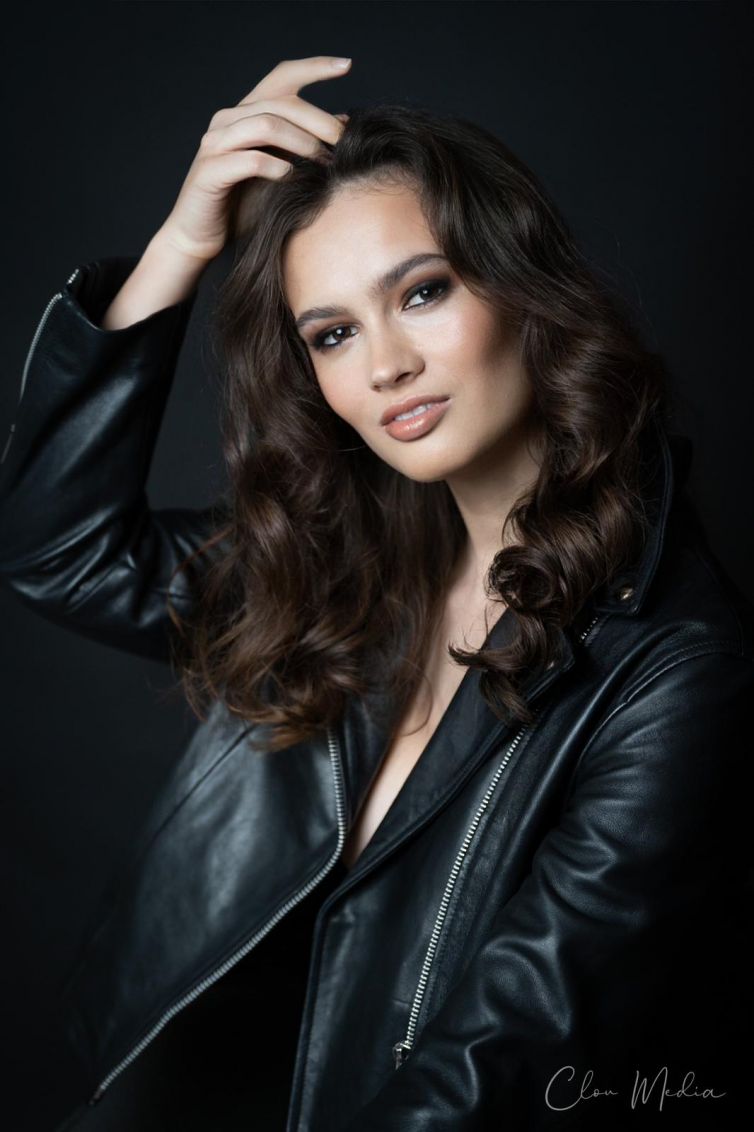
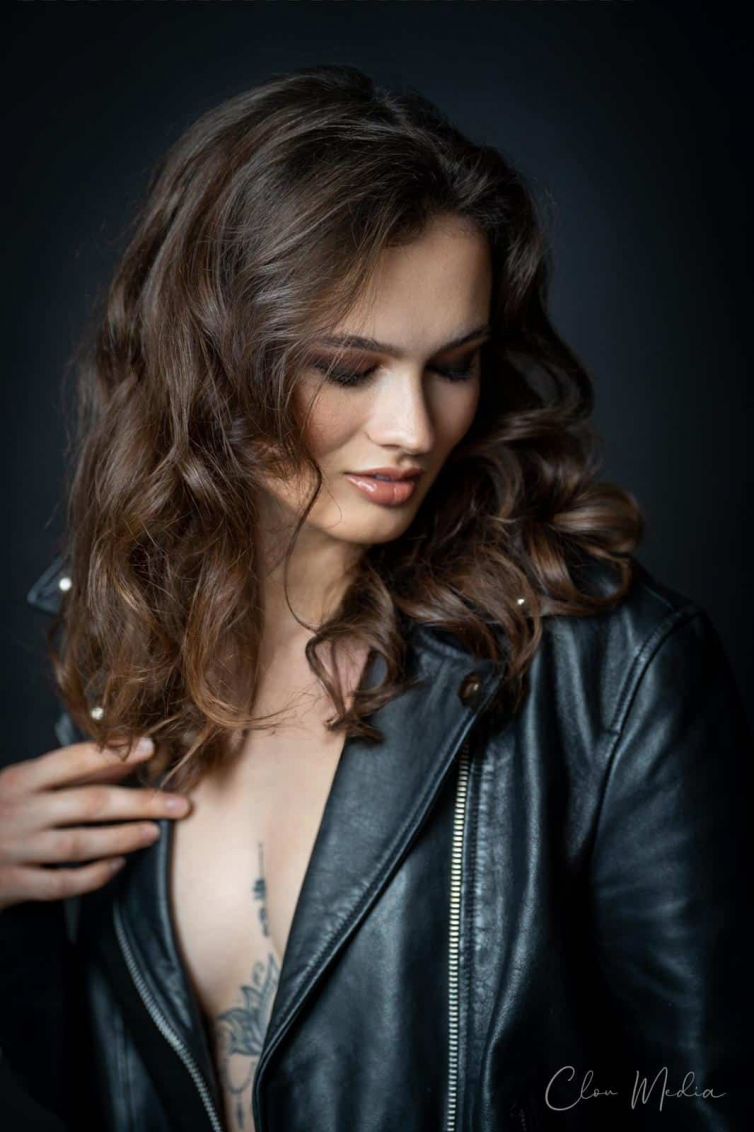
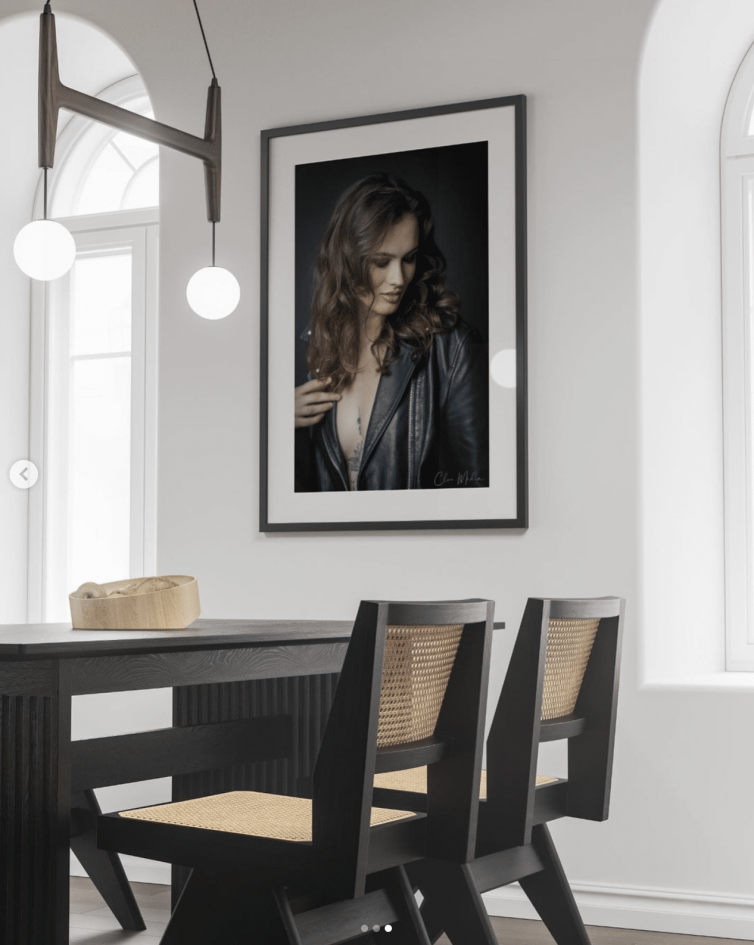
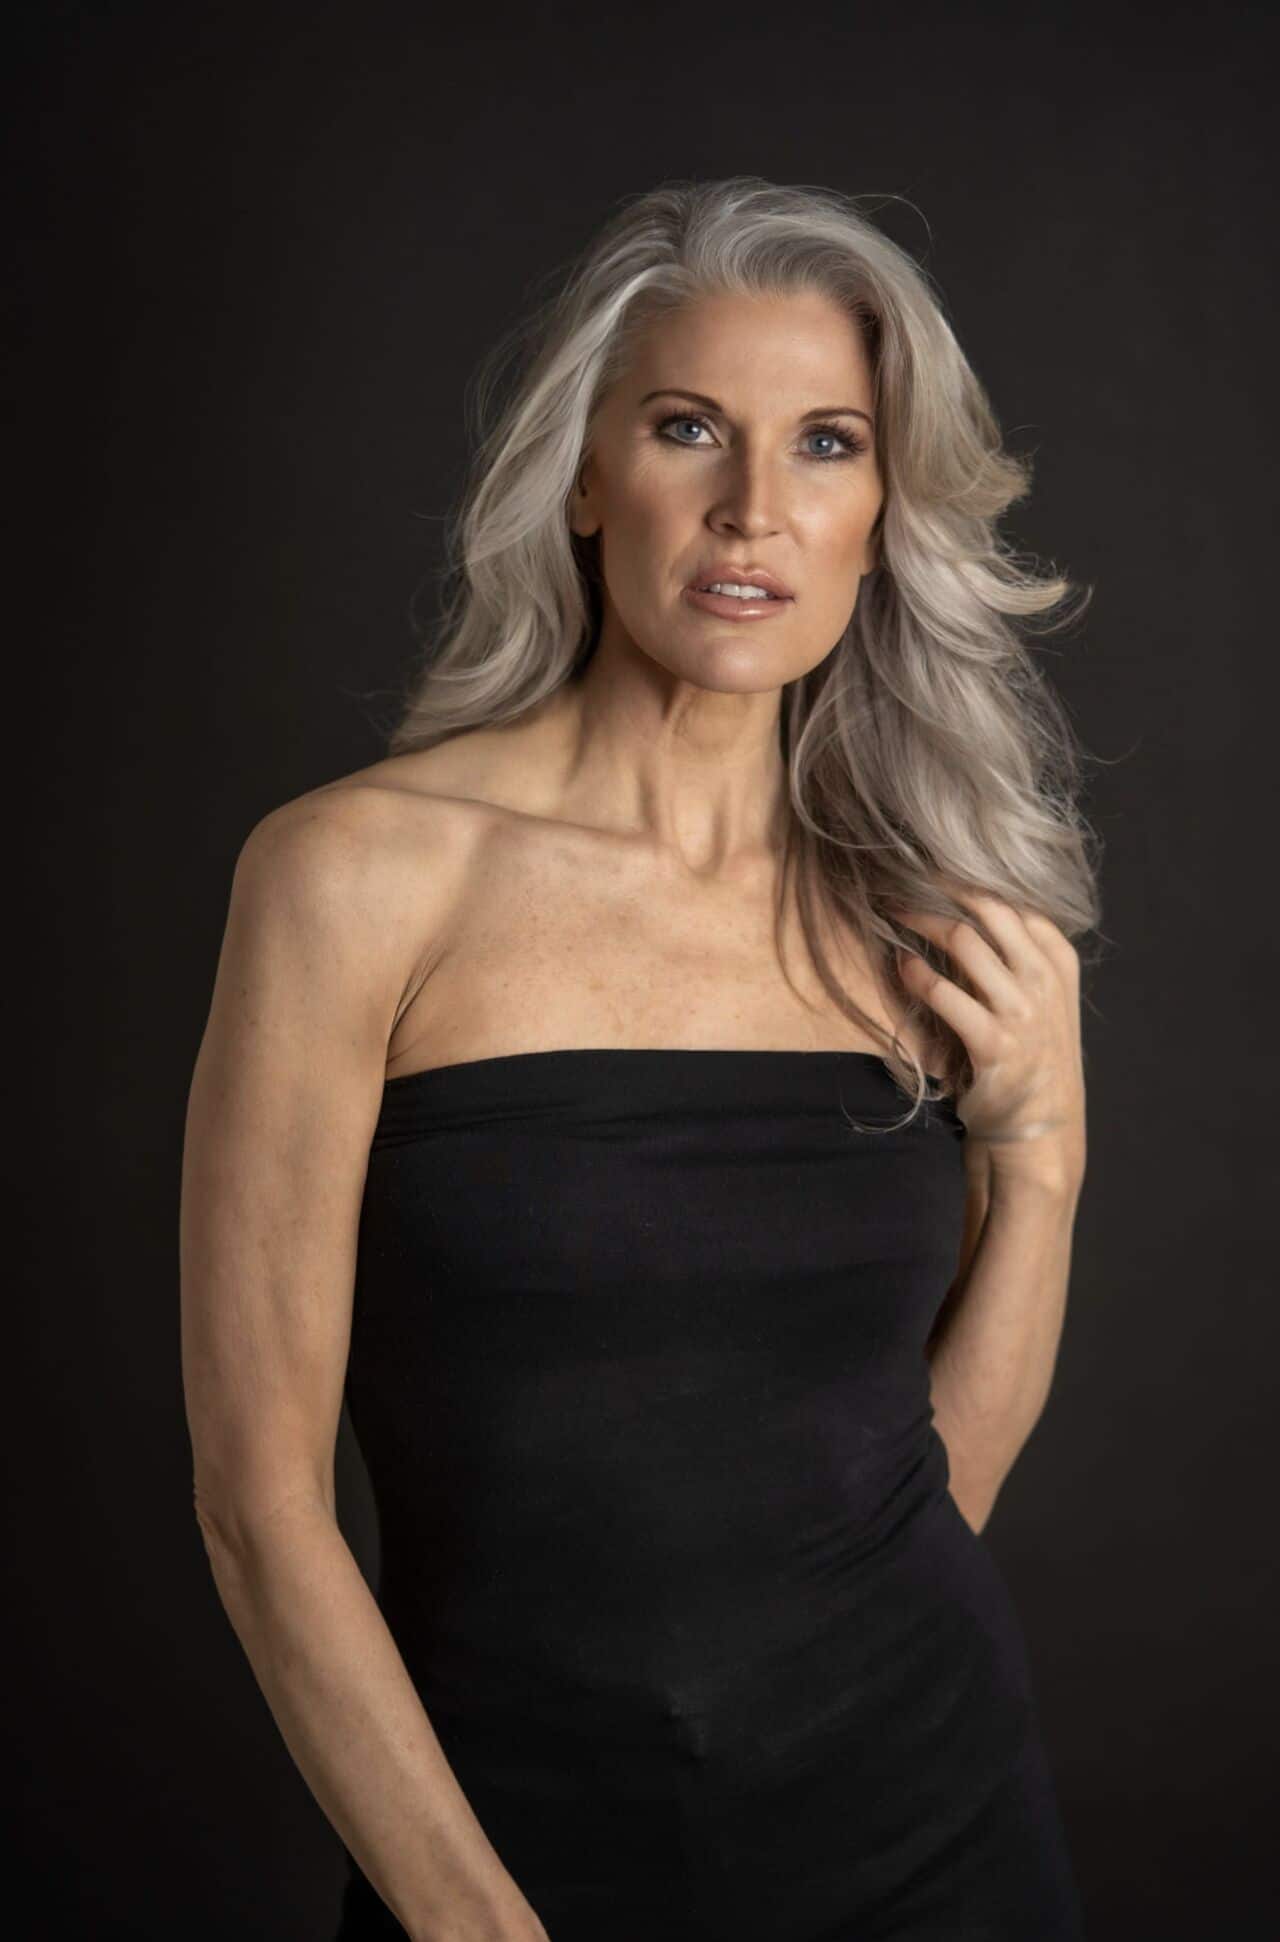
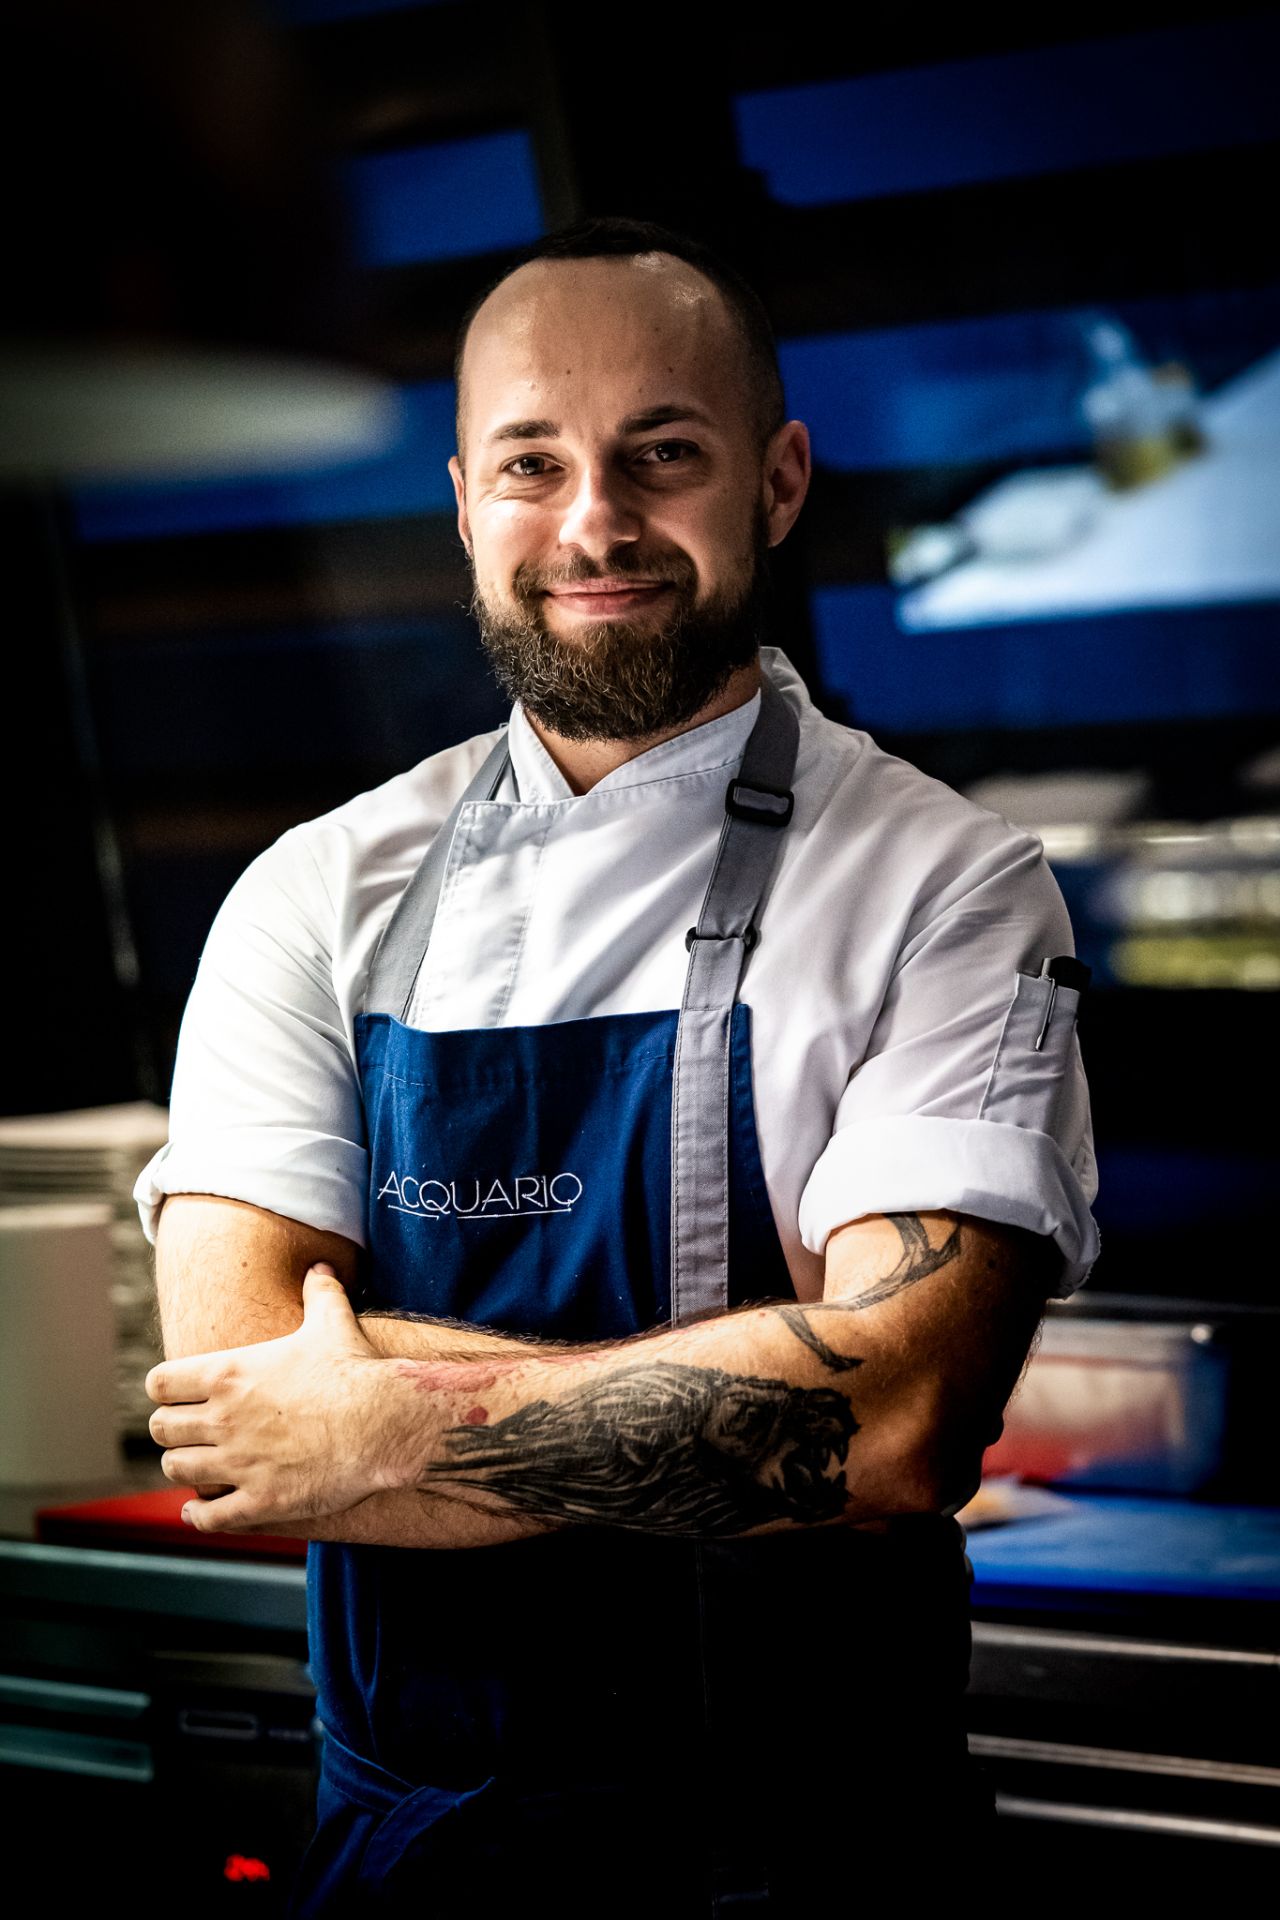
Portrait photo – Munich
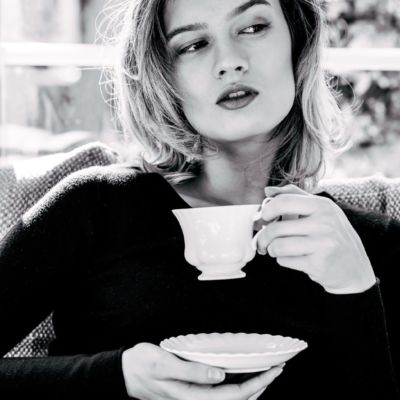
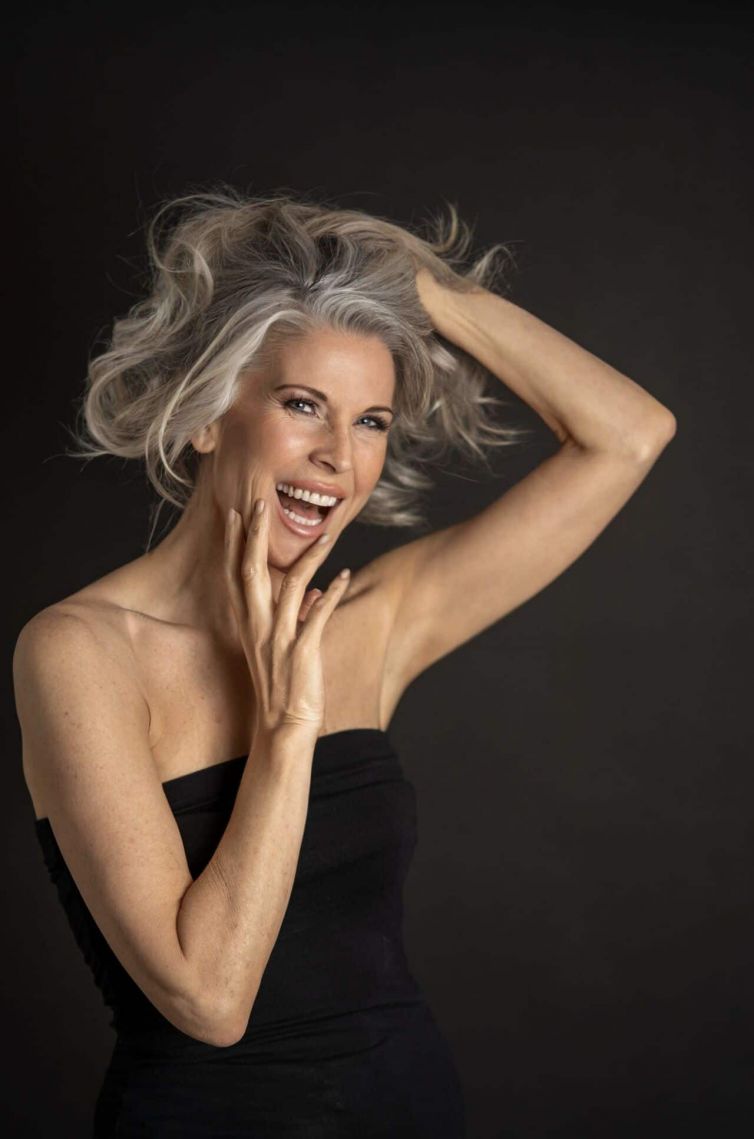
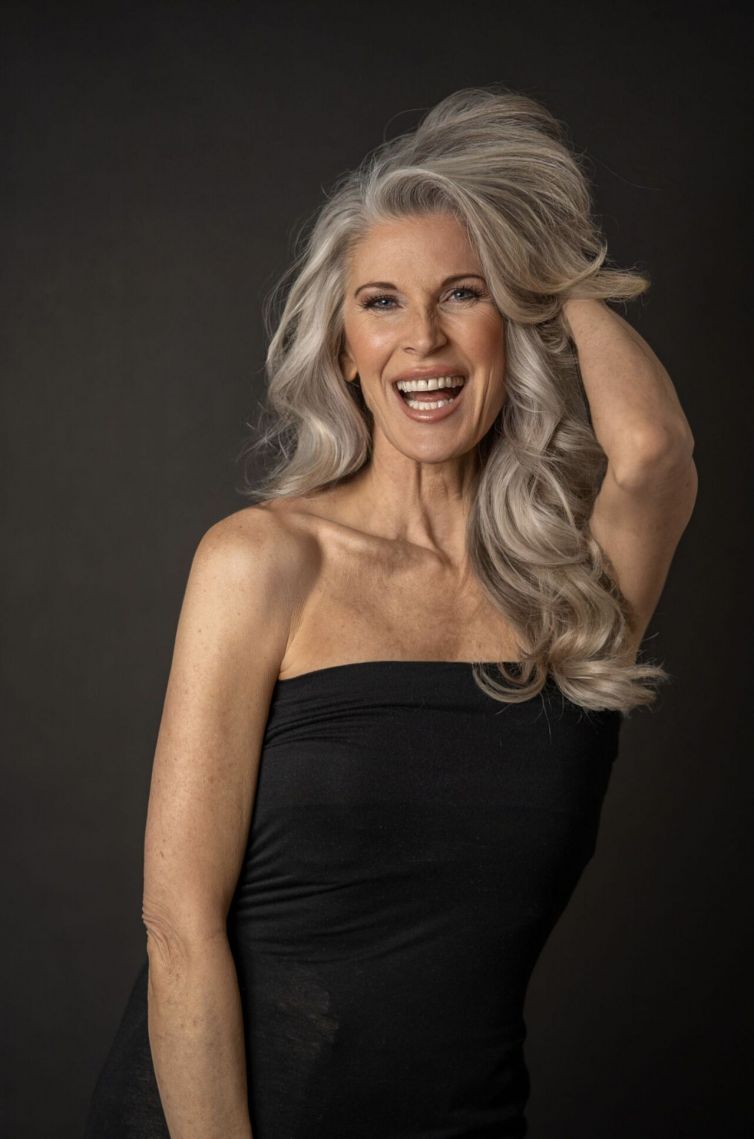
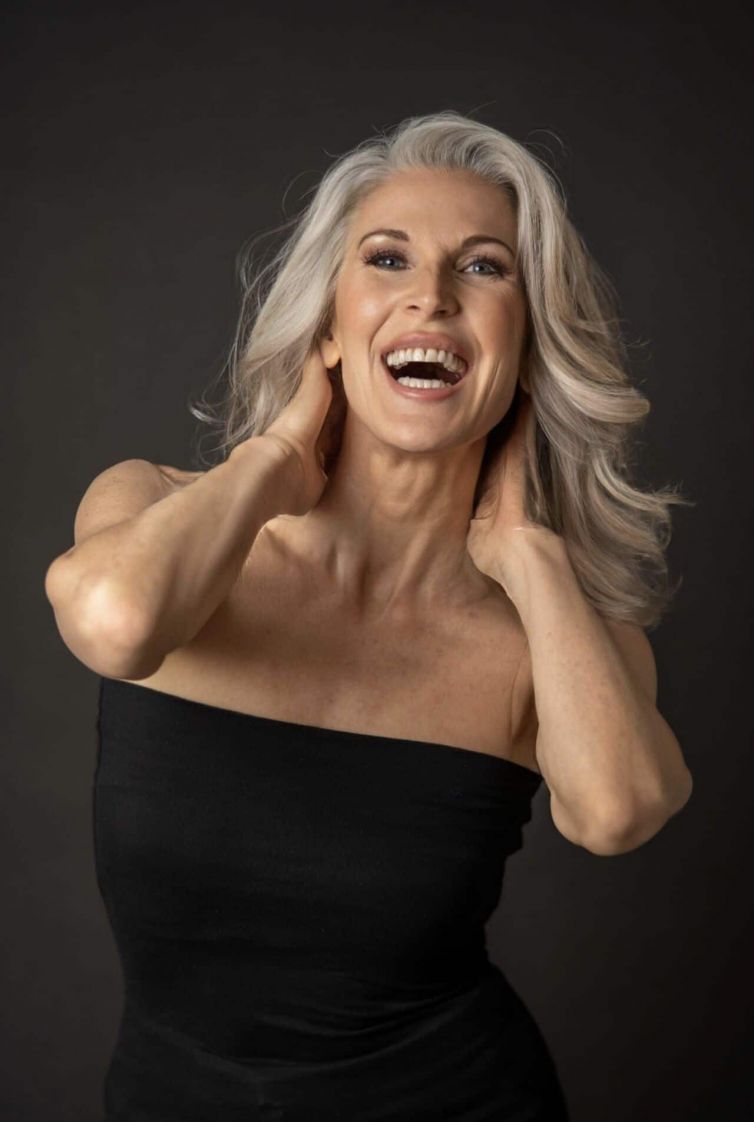
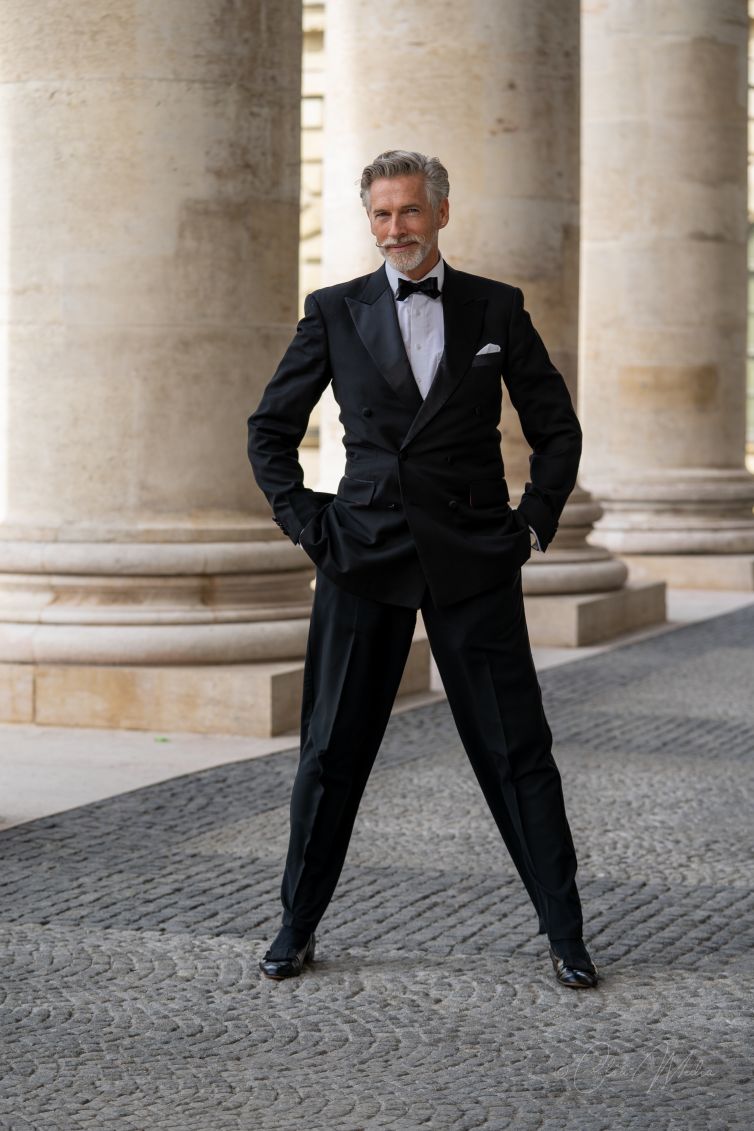
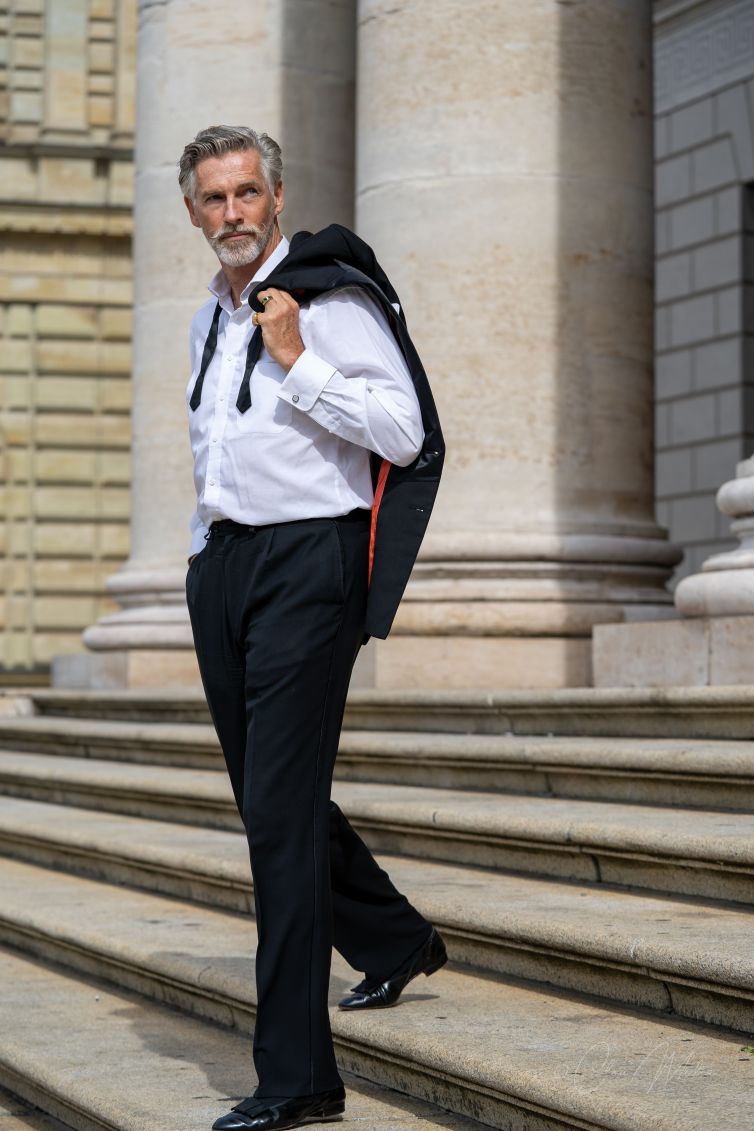
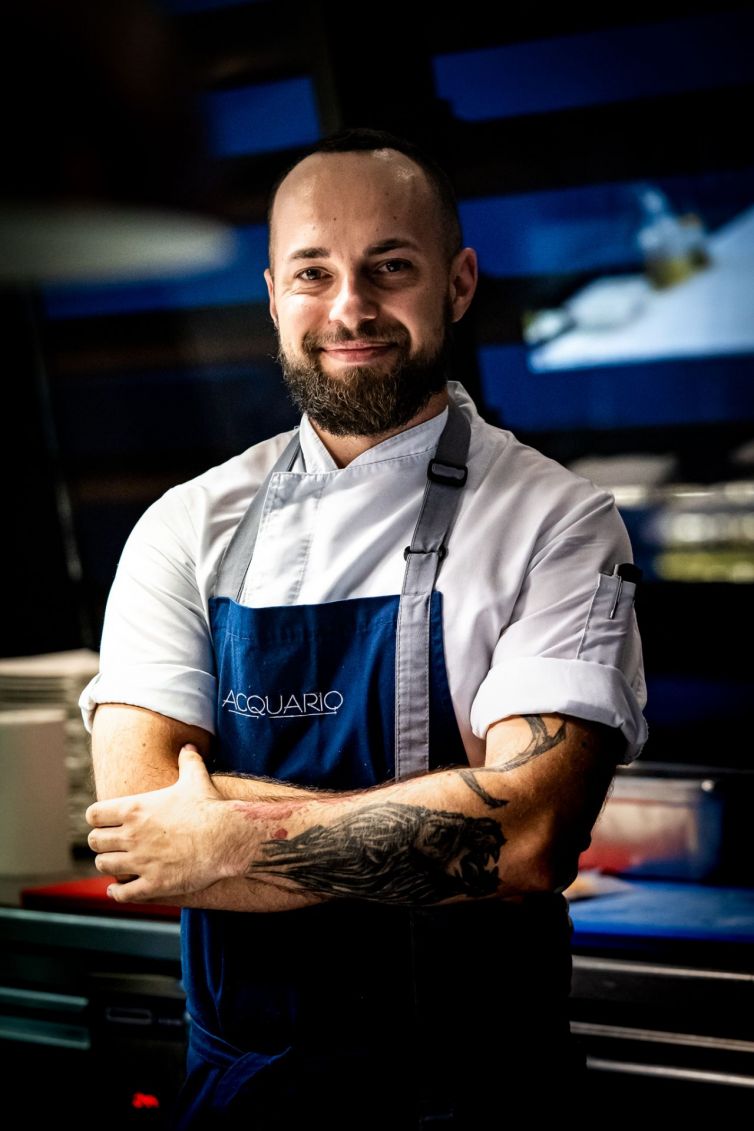
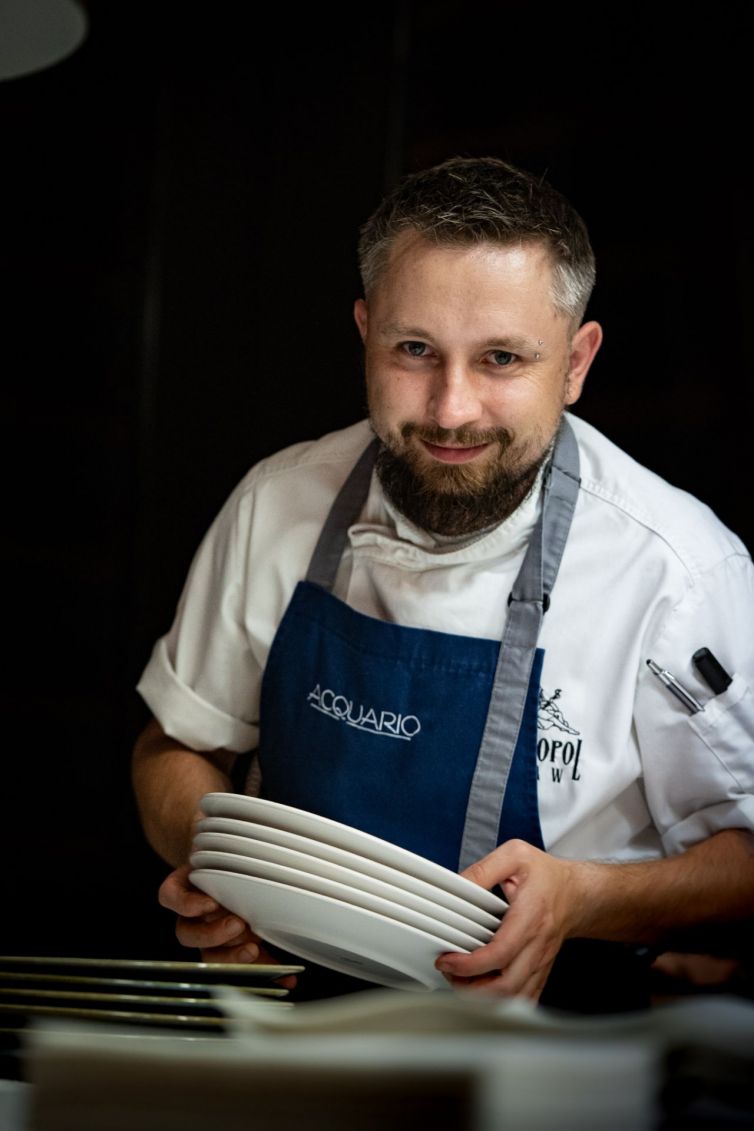
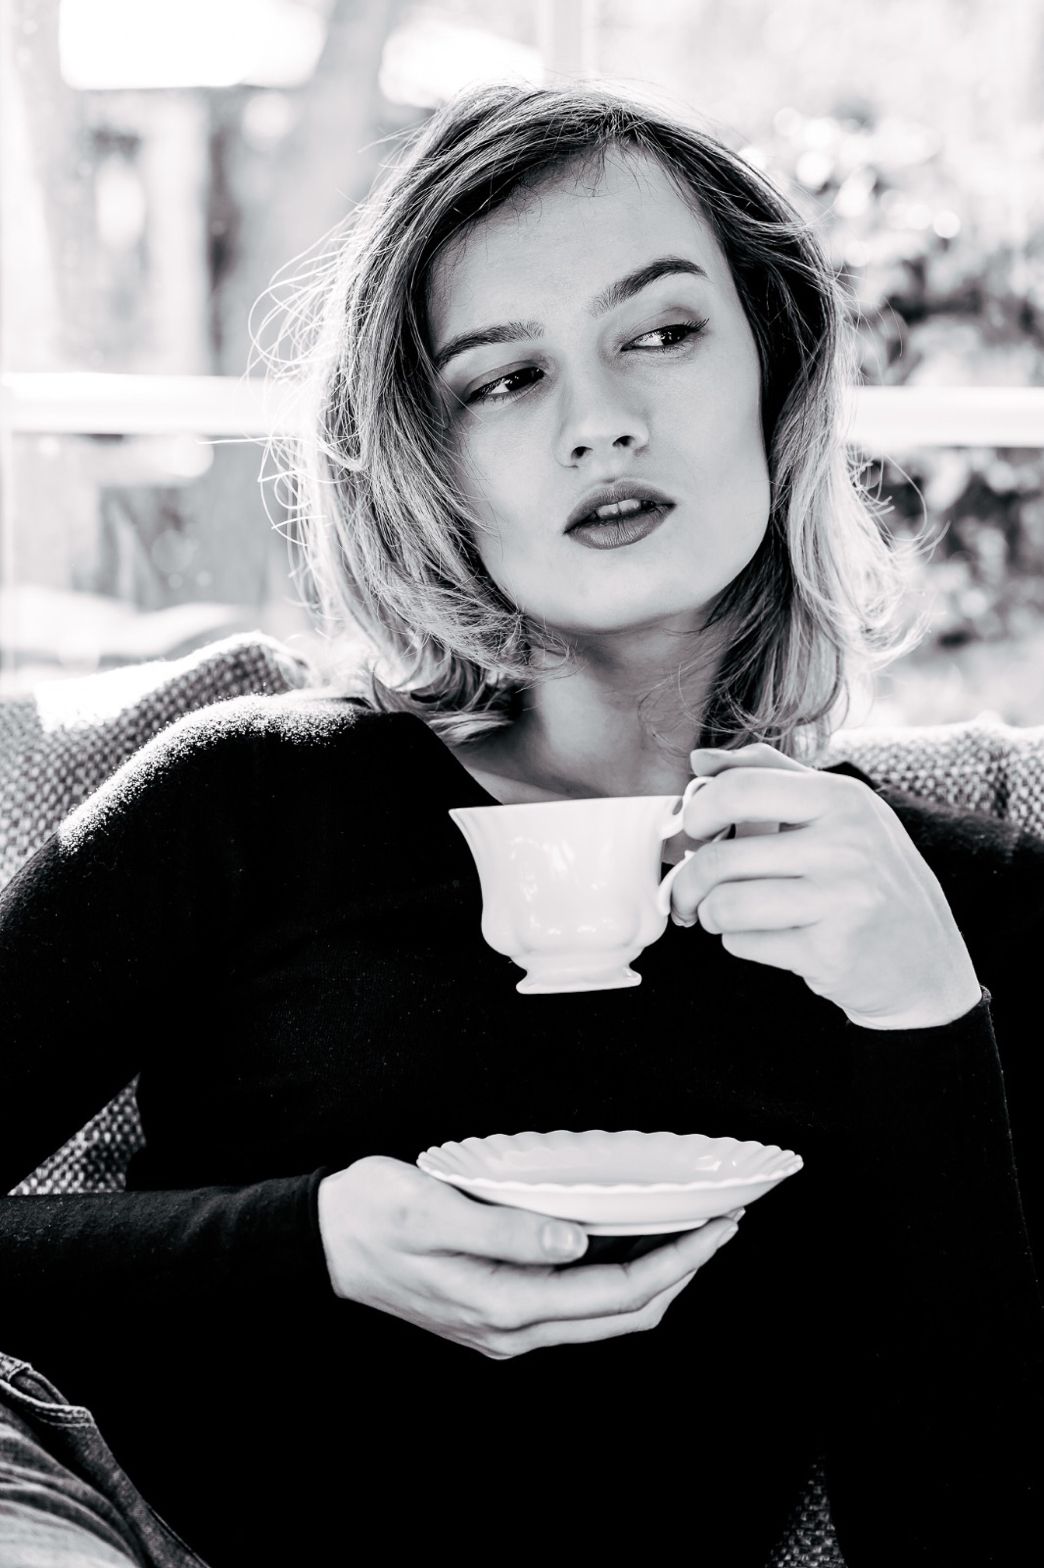
Capturing in the squad of people, facial expressions, good emotions, as well as bad and simply a man is the main interest of this type of photography. Portraits can be made close up, they can be photos of the whole figure or even in the workplace where a human portrait is just a part of the general frame. Usually, we try to put the face of another person with clear eyes as a soul mirror.
Making a portrait does not only think about making an appointment with this person and photograph her. You have to get to know this person better, get her confidence and build a suitable atmosphere to open up in front of the camera, took off his masks and survive something authentic, deep in front of the photographer. Ideally, it’s first to meet the model, without taking pictures, and then shoot him another day. Later, if necessary, repeat even a few times a portrait session until it is satisfied with its results. It looks similar to the work of a painter. Unfortunately, it is not always possible to work in this way.
Lens for portraits
The portraits usually use lenses with a focal length above 50 mm. Selectructives with so-called Zoom 70-200 mm work very well, but also 70mm fixed lenses and more, are a good choice.
M – manual mode.
How to work in manual mode?
1. Set M mode in the camera.
If you do not know how to do it – look at the instructions. Make a note on the puller on how to do it. For me, it sets the knob on the top of the body.
2. Tilt sensitivity, i.e. ISO
We set the sensitivity depending on the lighting conditions. Once it was chosen a suitable film, e.g. ISO 100 for a holiday by the sea, and ISO 400 on cloudy days. Now this parameter is set for a digital matrix.
– ISO 100-200 We have a lot of light. We are photographed on a sunny day outside. Or in the studio with flash lamps.
– ISO 400 Average amount of light. Pictures of outdoors on a cloudy day or photos at home near the window (eg on the windowsill).
– ISO 800 less light. Dark day or late evening. Pictures at home away from the window.
– ISO 1600-3200 photos in dark rooms, at home far from the window, in a church, etc., photos by artificial light.
– Greater sensitivity, i.e. 6400 or 12000 this is already a setting for extremely difficult lighting conditions. I avoid such values because they cause a large grain and noise in the pictures.
And again, if you do not know where ISO is set on your camera, check it in the instructions and make a note in the table. For me, there is a button with the word ISO: I press it and put it on the knob, but I know that in the SLRs for amateur, this feature is not bad.


Set the aperture
I usually work on an open aperture, i.e. choose the smallest number. Then the lens lets a lot of light. Most often, I choose numbers between 2 and 4. Pictures with an open aperture make the background blurry. I like this effect and often use it.
Check what is the smallest number of apertures on your lens. You will find it on the housing after the symbol (1: ). What a better, lighter lens, the smaller one is the number. It’s cool if it is 1.4 or 2.8. Some lenses (eg zooms bought in a set with a camera) have the smallest number of 5.6. This means that the lens is dark. If you have a dark lens, you can choose a little higher sensitivity, i.e. 800 instead of 400.
We choose the exposure time, or snapshot
Set the exposure time or snapshot so that the light meter indicates the 0. Fire meter is the scale you see in the camera’s viewfinder. Take a picture, see if it is too dark, or too bright.
Choose a snapshot so that in bright points the pictures were visible details, not overexposed white pancakes. At pictures on a white background, the light meter can indicate +1 or +1.5. At the pictures on a dark background, the opposite: -1 or -1.5. This is called exposure correction.
The numbers of the shutter really mean fractions of seconds. 60 are 1/60 seconds. 120 is 1/120 seconds, i.e. time by half the shorter. The shorter the exposure time, the darker the picture comes out.


Control “Wasting” and details in shadows
Modern portrait photography and contemporary SLRs give photographers the ability to preview the histogram photos up to date.
If we try to make a clear, light portrait – especially then you can easily lead to “burning” photos. If a flashing fragment is visible on the photo preview on the camera’s LCD display, a sign that the picture in some lots has been burned. In this case, change the exposure settings. It is also worth taking care that the details are visible in dark parts of the frame. The correct exhibition is the basis for a good portrait.
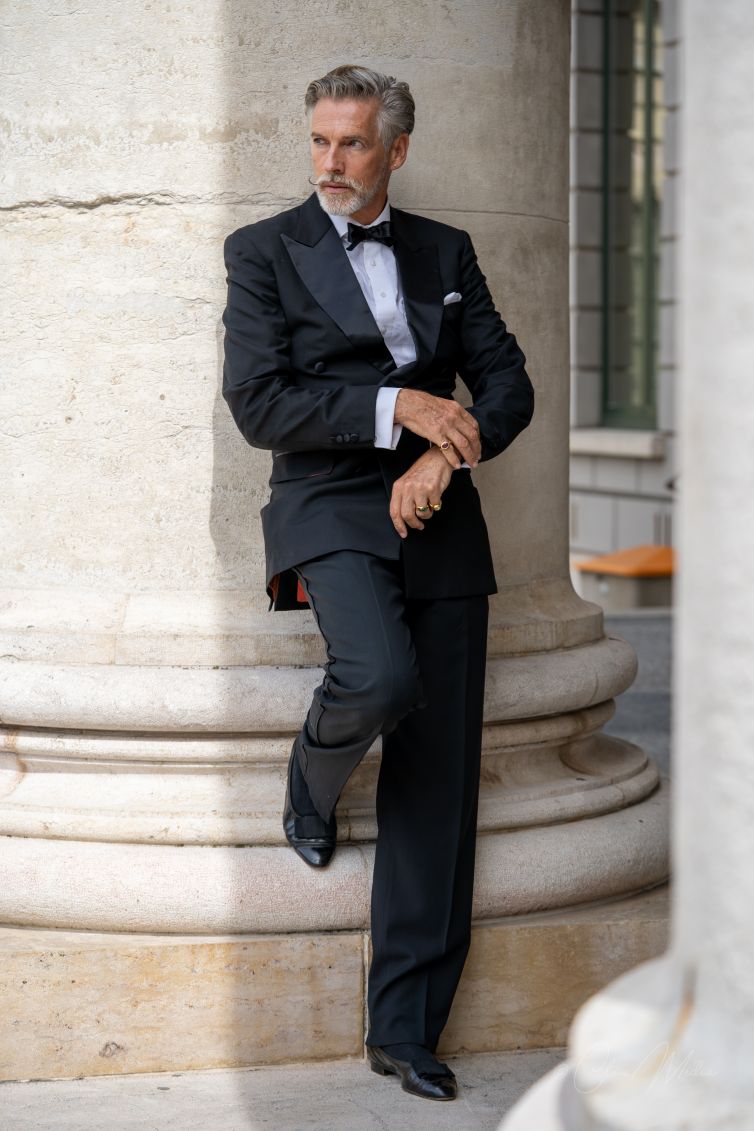
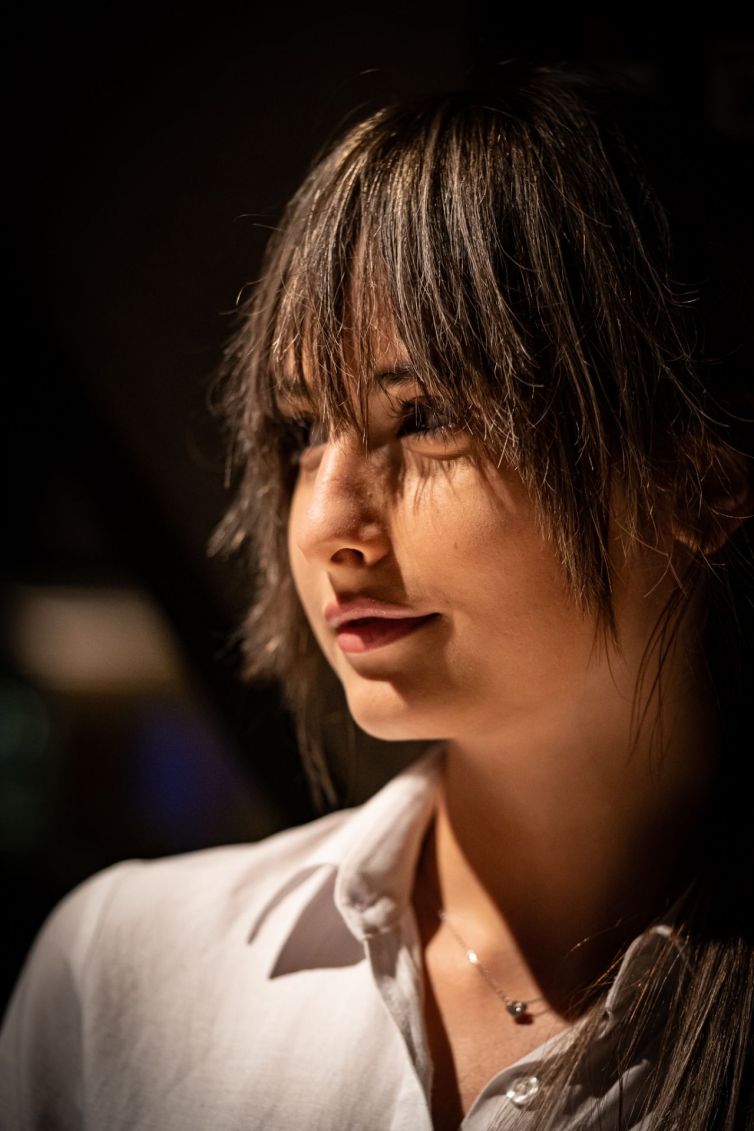
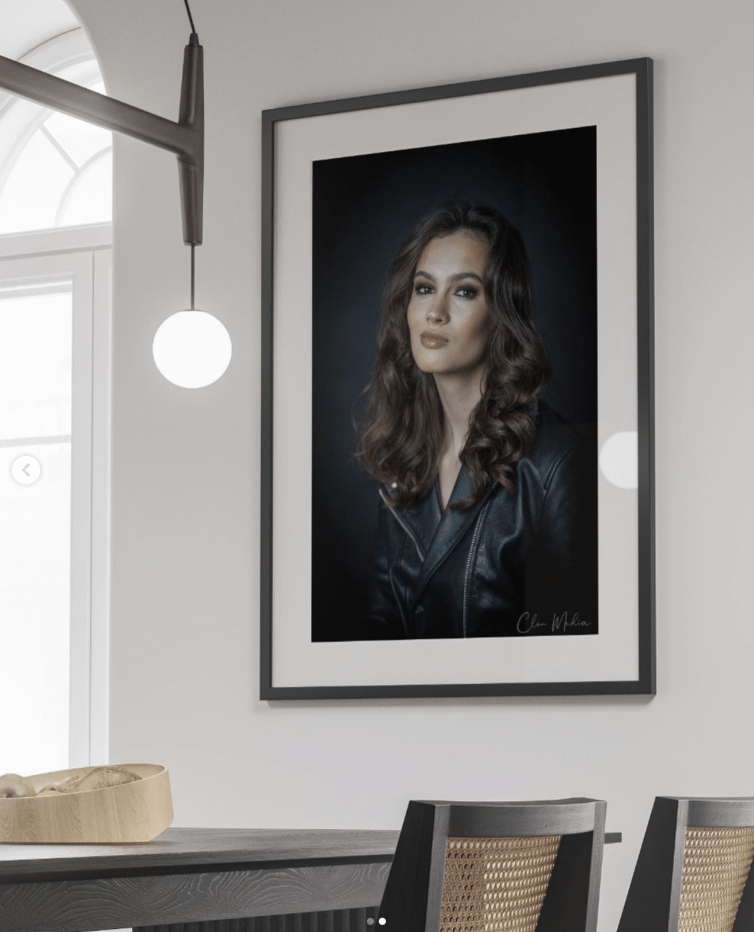
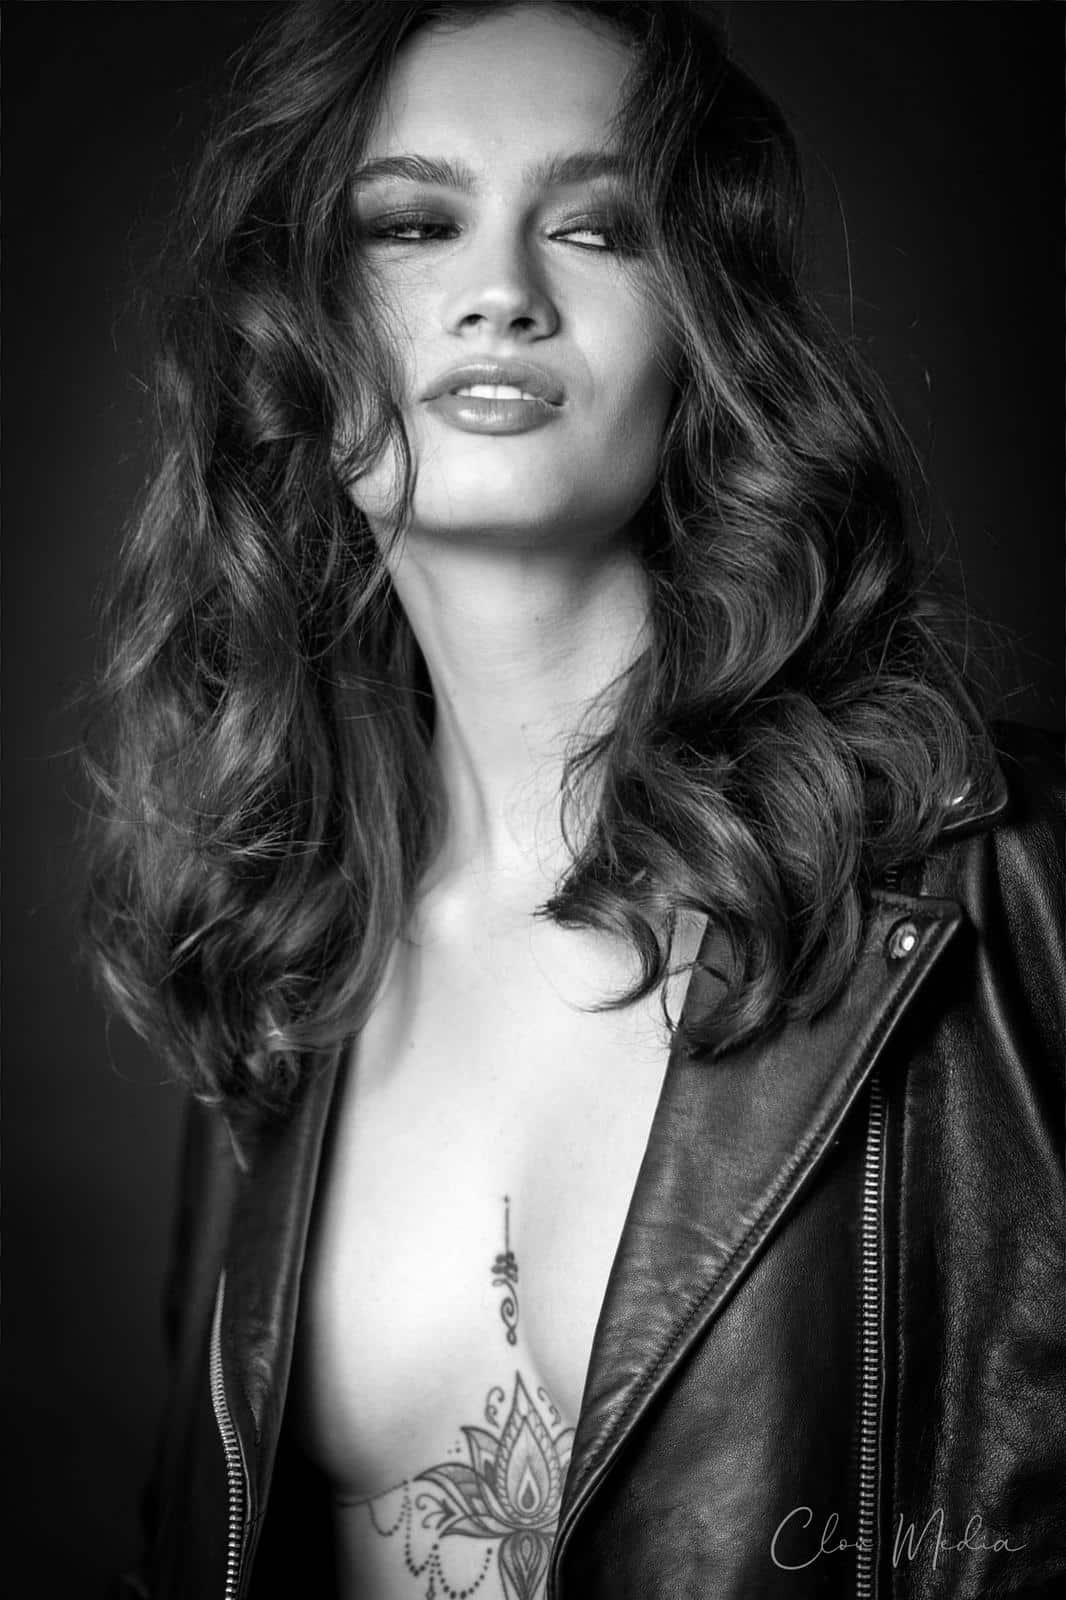
Background for portrait photos: What to choose?
When performing a portrait session, avoid various types of “diffusers” in the squash that can spoil the photo composition. If possible, clean background from disturbing staff or take a picture from a different perspective, so that the background is “clean”. If you do not have an interesting background to portrait photography – the best, blur ‘with the appropriate optics. This is one of the tricks, thanks to which, by separating a model from the background, you can get a more distinct portrait.
How to get a blurred background for portrait photos?
It is enough to open the aperture as quickly as possible (for example to 1.4 or 2.8) and apply a lens with a long focal length.


What else to do to improve the quality of your portraits?
Review the portfolio of artists such as: Annie Leibovitz, Steve McCurry, Dorothea Lange, Angus McBean, Diane Arbus, Yusuf Karsh, Richard Avedon, Edward S. Curtis. Each photographer has his technique and his idea for portrait photography.


Deine Perspektive, dass Porträts mehr als nur Fotos sind, sondern eine Art der Wahrheitssuche, ist sehr inspirierend. Es erinnert mich daran, dass man als Fotograf nicht nur abbildet, sondern auch eine tiefere Geschichte erzählen kann. Sehr motivierend!
Vielleicht könntest du in Zukunft Beispiele für verschiedene Techniken zeigen? Das wäre besonders für Anfänger sehr nützlich.
Man vergisst oft, wie wichtig eine gute Beziehung zum Model ist. Danke, dass du daran erinnerst – das macht den Unterschied.
Deine Tipps zu Schärfentiefe und manuellen Einstellungen sind super hilfreich. Ich weiß jetzt, wie ich meine Fotos verbessern kann.
Toller Artikel! Ich finde es großartig, wie du die Bedeutung von echten Emotionen und Authentizität in Porträts hervorhebst. Das macht ein Bild wirklich besonders.