Food photography. How to take nice pictures of food in 10 steps. Guide for 2021
How to take nice pictures of food? I will show you 8 steps worth remembering if you want the photos of your dishes to be appetizing.
I have prepared this mini-guide to culinary photography with beginners in mind. I hope the tips here will help you take the photos you dream about faster.
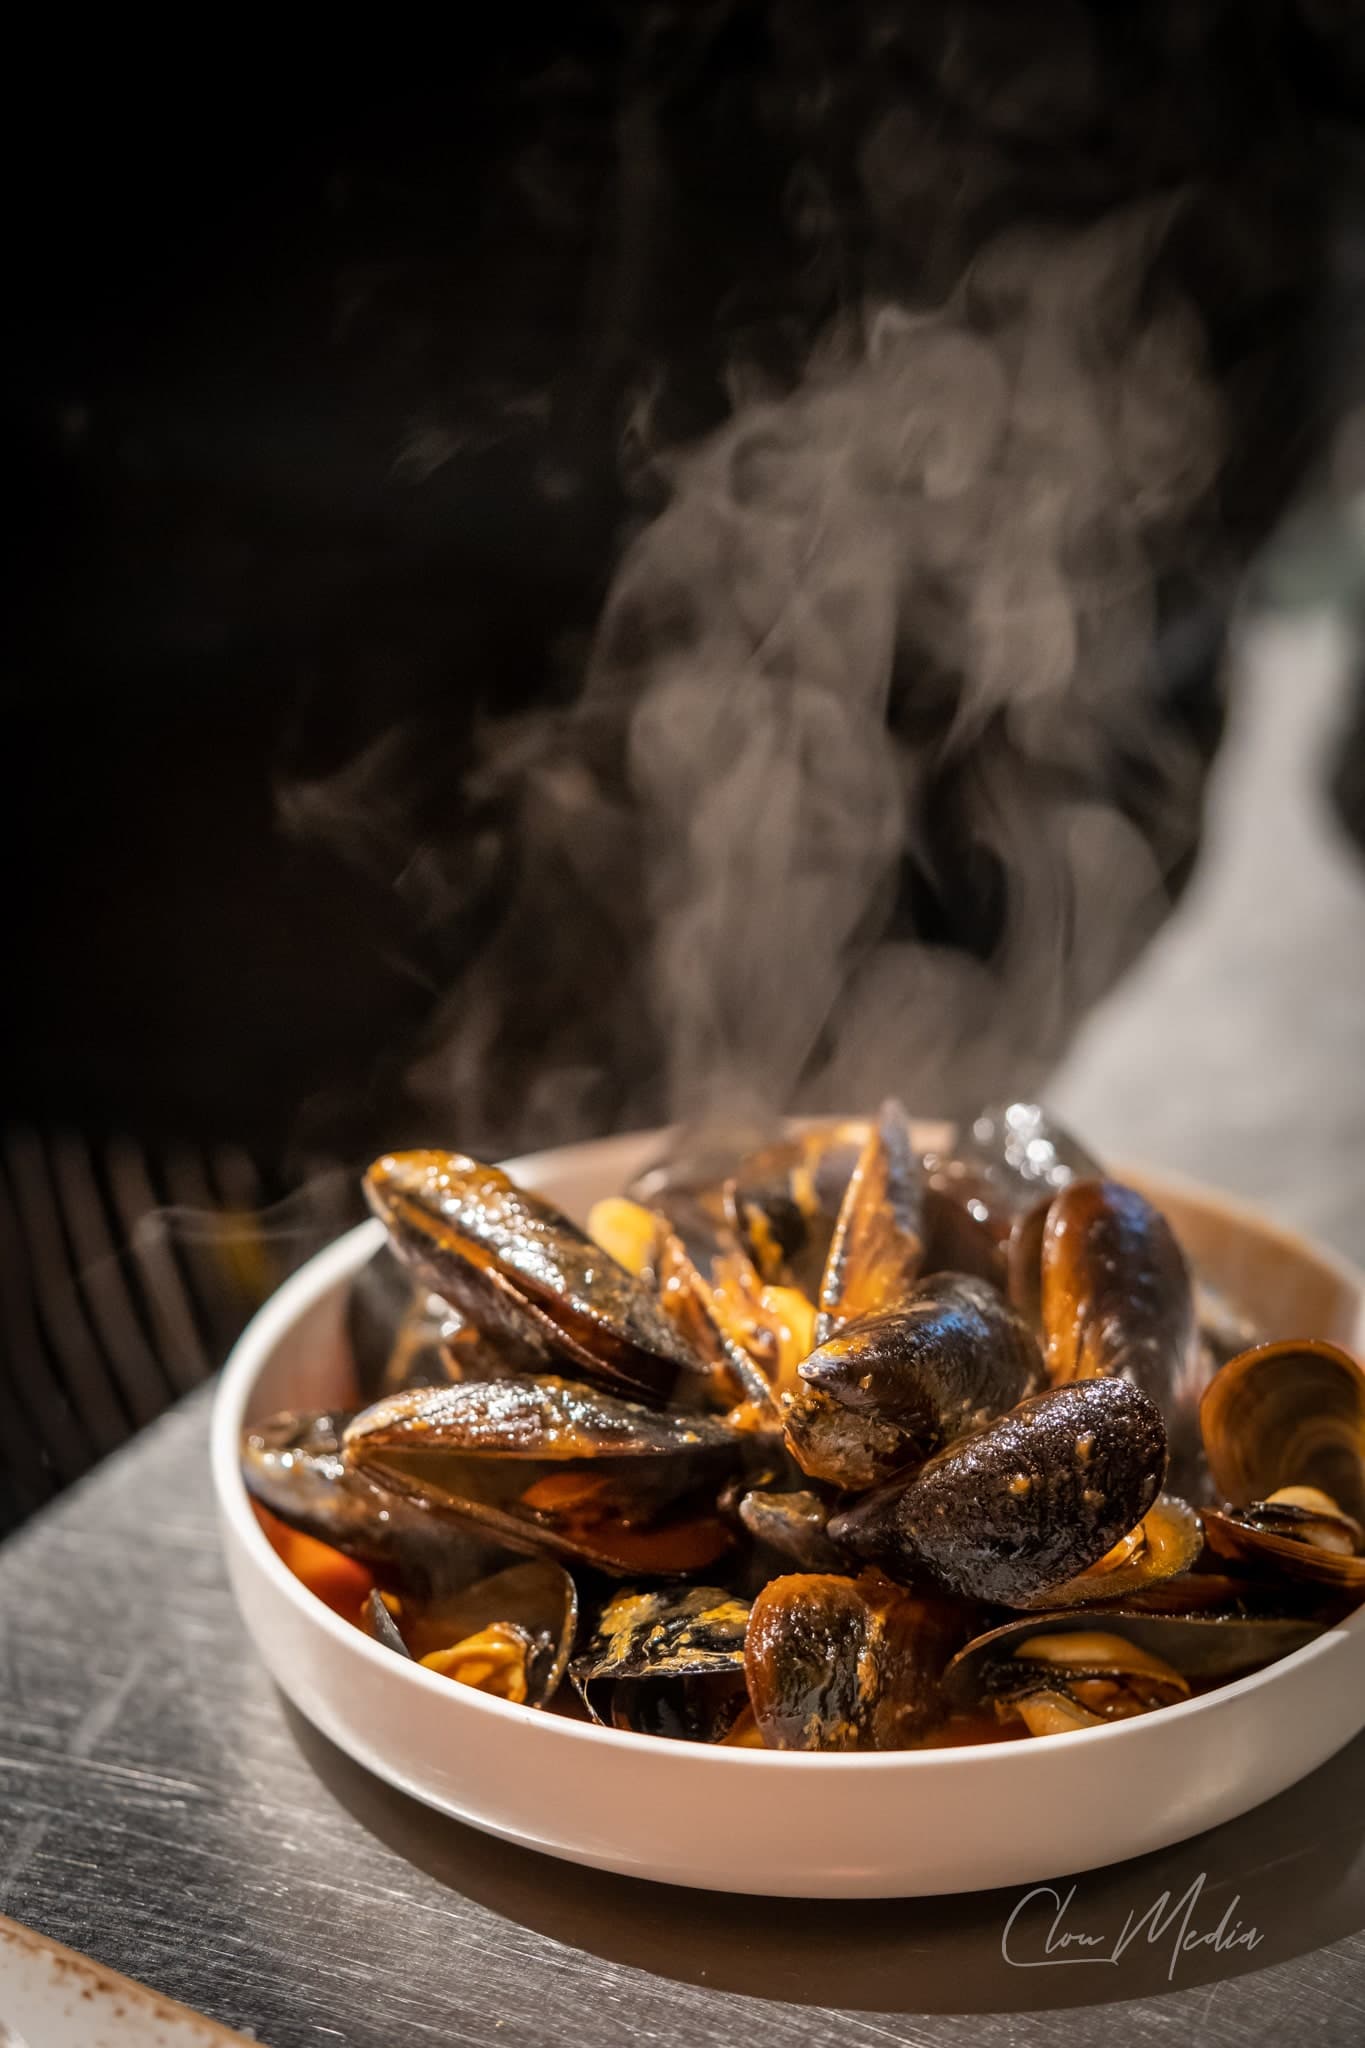
Culinary photography is a very grateful topic. More than once, dishes prepared by chefs look like works of art, so it’s definitely worth photographing them. On the other hand, the topic is not as simple as it may seem. You need to know how to master the light, know various tricks and skillfully take care of the styling of both what is on the plate and around it. Additionally, it should be remembered that photos are taken differently for folders, websites and for Instagram. We must also consider what we want to say through the photo and this will oblige us to present the main hero in the photo differently.
We advise you on how to take pictures of your food to make it look delicious.
Theoretically, to take a good photo of food, all you need is a smartphone and some daylight. We put the plate by the window, photograph it in advance and it’s ready. However, you have to remember that not every dish will be suitable for this type of photos, daylight will usually be soft and very general, and if you want to go further, you need to reach for artificial light. However, this is where the stairs begin, because if you are at the beginning of your photographic path, the photos can come out very flat and simply looking artificial.
A popular saying among chefs is that “you eat with your eyes first.” Since vision is the first sensory criterion we use when making decisions about eating, the visual appeal of a dish plays a huge role in whether or not we want to eat it. It is for this reason that we unconsciously lean towards colorful, carefully prepared meals, which is why culinary photography is one of the most popular genres on social media.
1. Get inspired by the best
Spend a few minutes each day examining the work of other food photographers. One of the easiest ways is to track Instagram photo accounts that contain these types of photos. If you don’t know where to find these profiles, check out the most popular photo hashtags on social media.
2. Invest in a good tripod
Of all the available camera accessories, a tripod is the most popular in almost all types of photography. Not only does it help to avoid unwanted noise in your photos due to camera shake, it also helps you go back and correct your compositions before pressing the shutter. In addition, the tripod opens the door to the implementation of creative photo ideas that otherwise would not be possible to capture.
3. Use natural lighting
When it comes to lighting, natural light is generally the preferred choice when taking pictures of food. This does not mean that all photo sessions of this type should be performed outdoors, but regardless of the location, it is worth trying to obtain natural, soft lighting. For best results, it’s best to place your artwork near a large window and shoot during the golden hour (around sunset) or on a cloudy day to avoid harsh shadows.
With the right equipment and skills, you can recreate a similar atmosphere in the studio using artificial light. If you choose to follow this path, start with one main light source and use diffusers to soften shadows by mimicking the effect of sun shining through the window.
4. Work with a food stylist
They say that to be the best you have to surround yourself with the best. Working with talented professionals from other fields will come in handy when you want to climb the career ladder in photography. Why? If you were a fashion photographer, you would definitely hire a professional stylist and makeup artist to collaborate instead of trying to juggle all roles at once.
The equivalent of this in culinary photography is being a person who cooks, prepares a dish and then takes pictures. While such maneuvers are successful for some people, juggling tasks makes work much more difficult, resulting in a result that does not meet industry standards.
Working with a food stylist will help you make sure that the composition of the dish perfectly presents your creative idea. This applies to literally everything from textures and colors to props and tableware. In addition, stylists have the necessary knowledge and skills to make every meal (yes, even spinach) look delicious.
5. Use props
Adding accessories to your food photo composition can help give the image a personal touch as well as enhance its visual appeal.
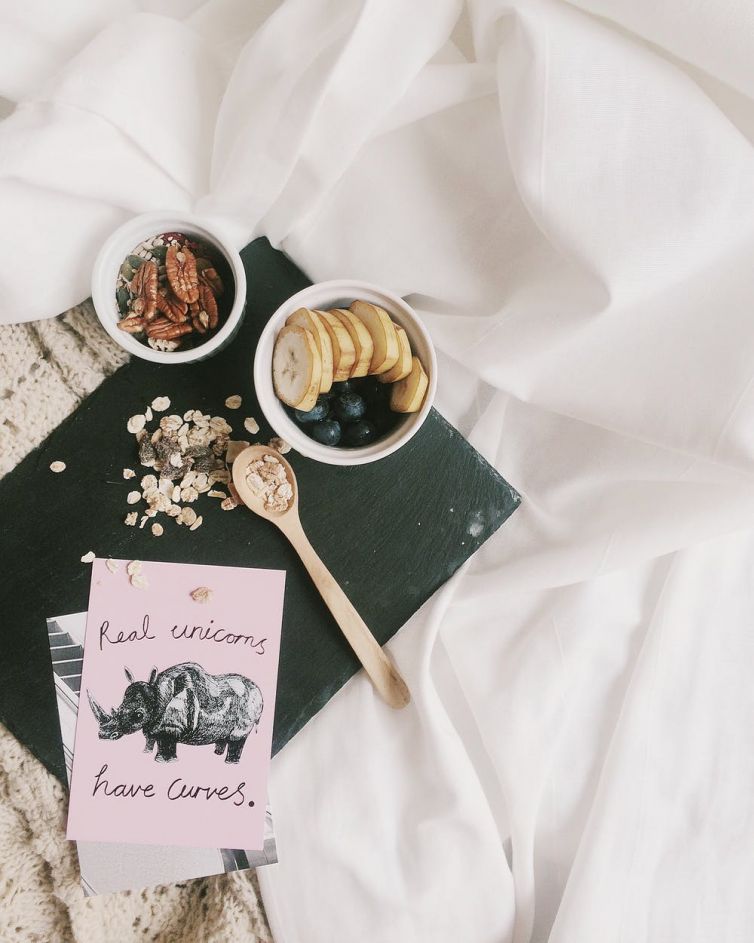
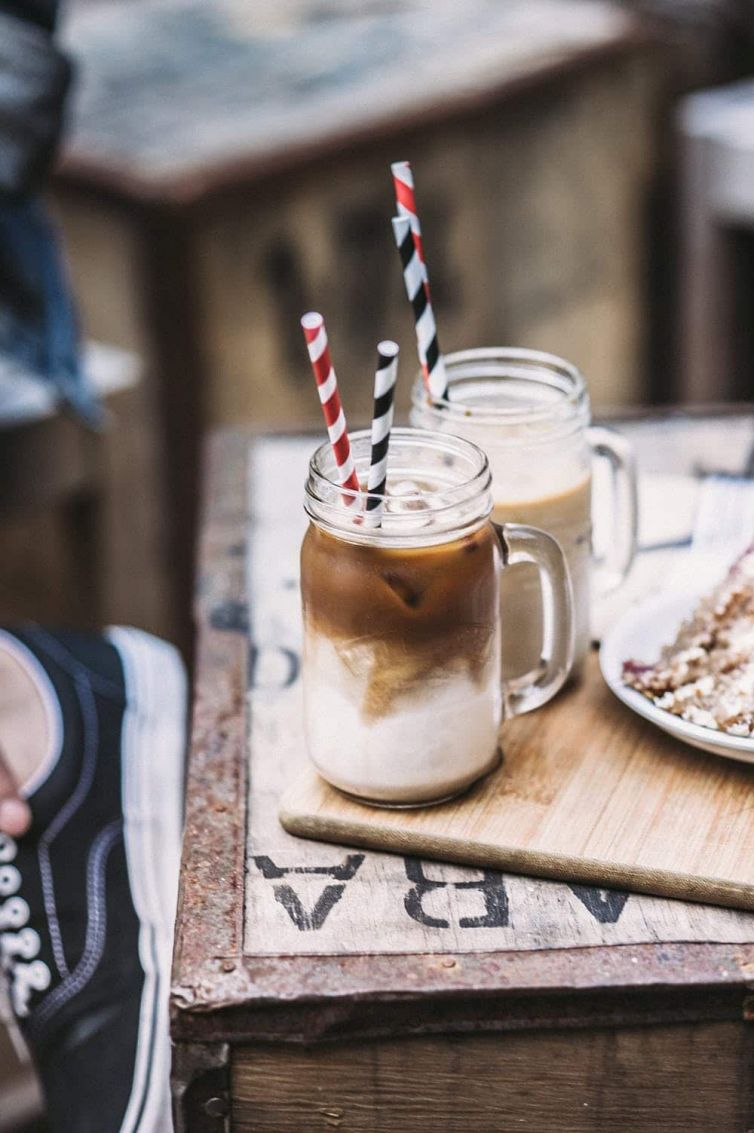
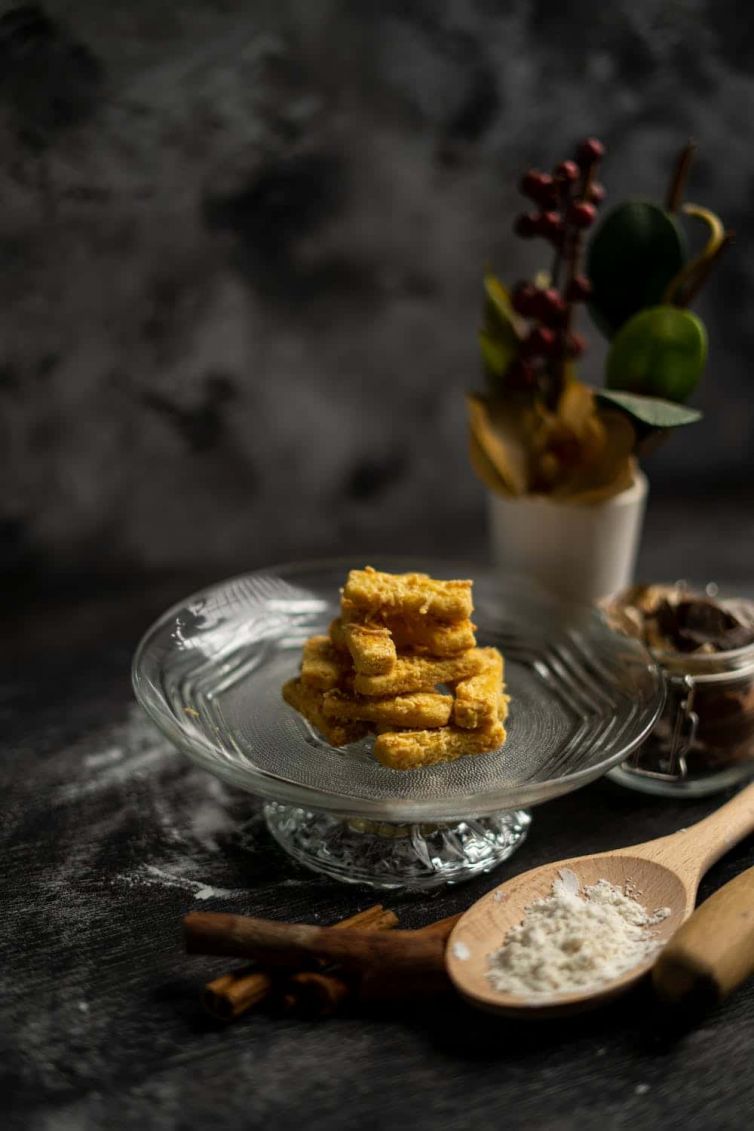
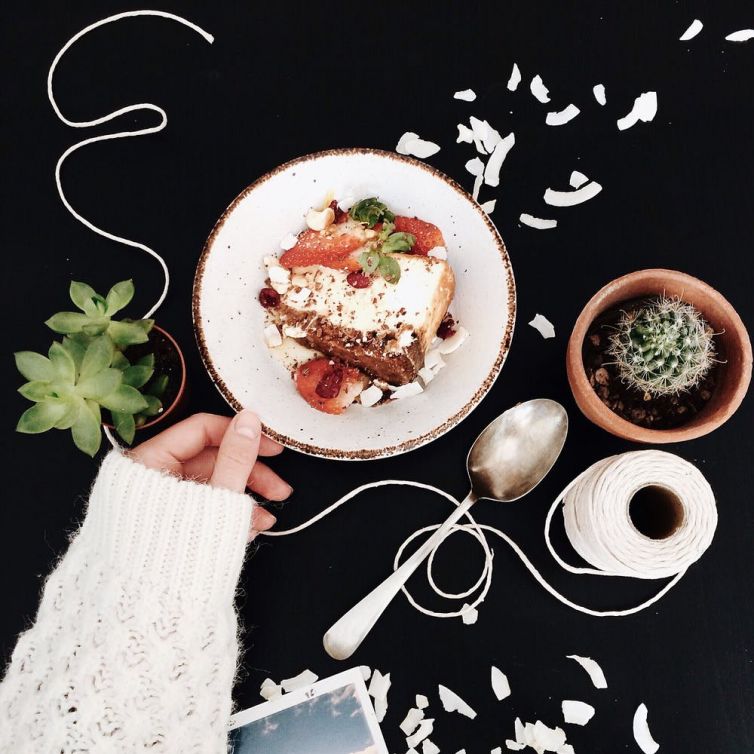
The type of props used in photographing a dish is usually tied to the ingredients, origin, or the cooking process of the dish itself. However, adding other accessories such as flowers, books, or textiles can also enhance the overall look of a photo.
Regardless of the type of elements you decide to add to the composition, make sure that they only serve as a support for the star of the evening, i.e. your dish. The toppings should not attract more attention than the photographed dish.
6. Culinary photography – plan your photo
As in any photographic situation, the composition of the photo is important. Of course, all the basic rules that a photographer should follow apply here. It seems, however, that the most important of these is the rule of thirds. It’s a simple but useful concept that works like this: imagine your cage is divided into a nine-piece mesh. The rule of thirds says that the main object – a plate, a piece of cake, an olive – should be placed along these lines or at their intersection, that is, at strong points. In a well-composed photo, you can immediately tell what is the main subject, whether it is a person, a plate or a single speck of ice cream sprinkles.
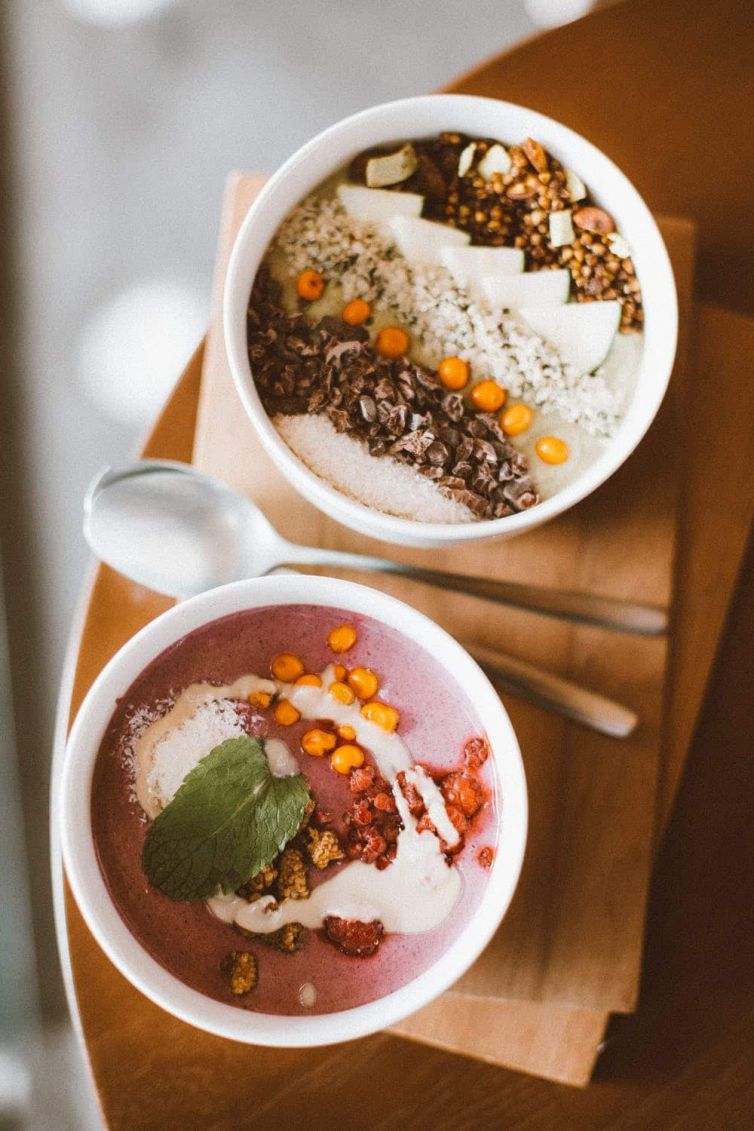
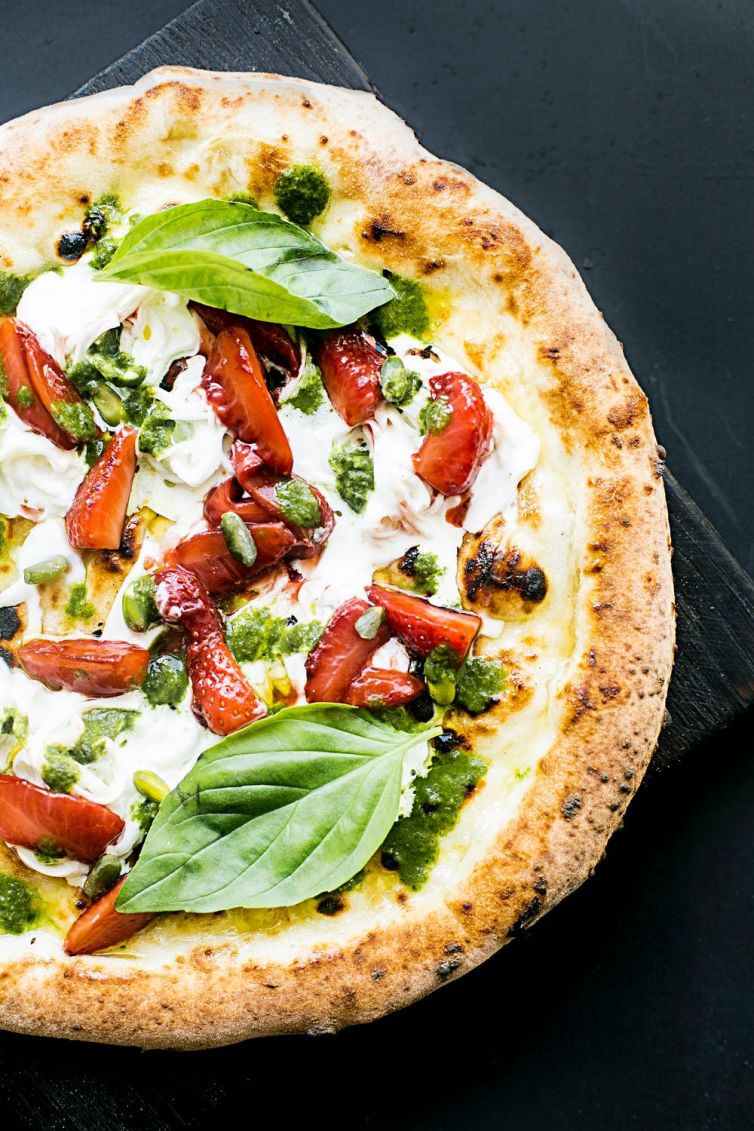
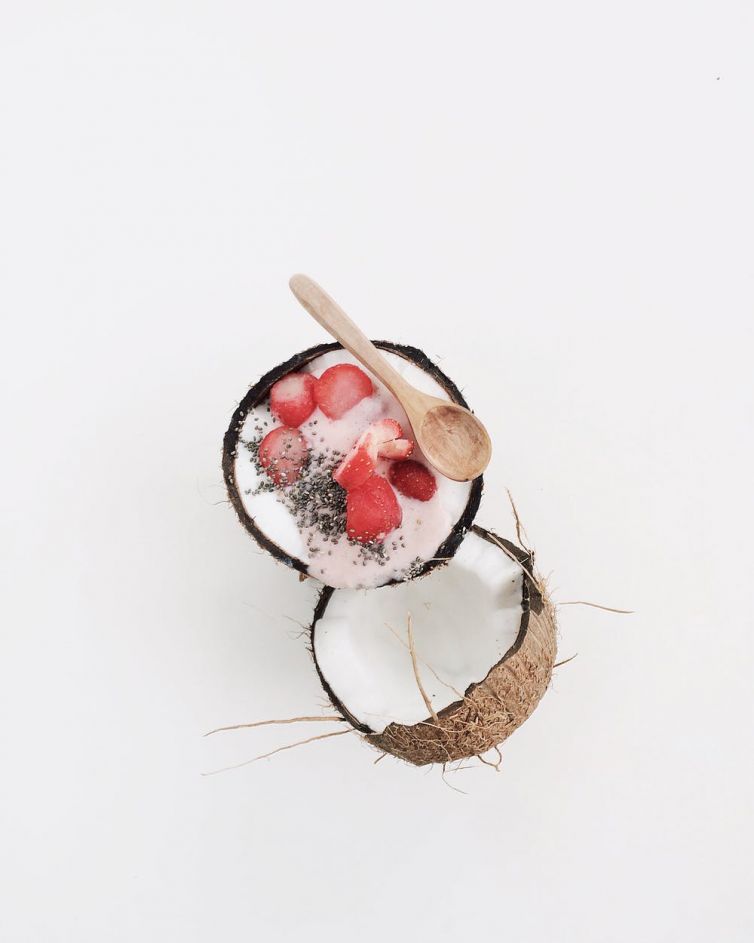
When composing your photo, you also need to decide what angle of view best suits your subject. A flat, round pizza will usually look best seen directly from above, while a tall ice cream dish may benefit when you use a 45-degree angle to focus attention on the three-dimensional contours of the scoop. Creativity with props and styling can take your photos to the next level, because next to composition, image styling is extremely important in culinary photography. Here are some ideas on how to make your culinary photography more attractive:
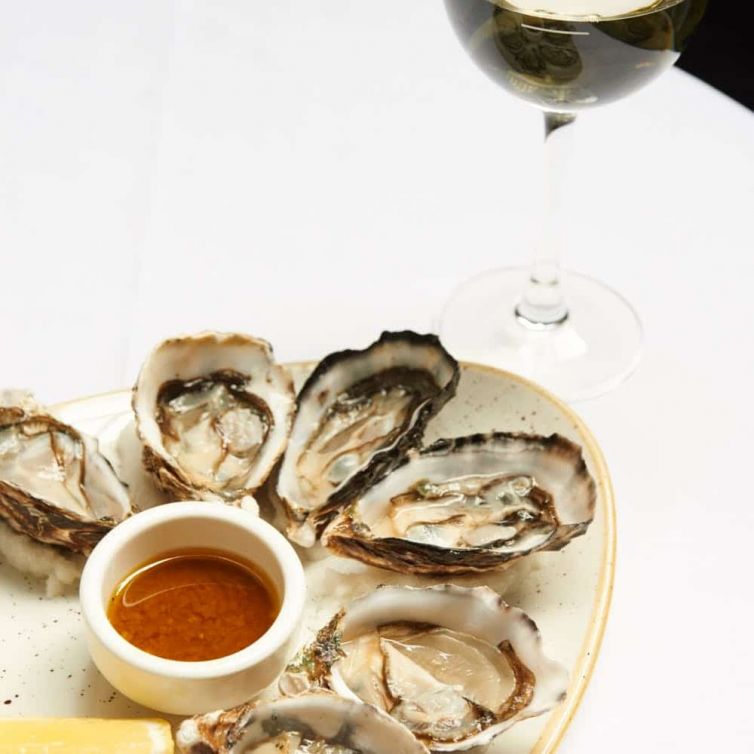
- Choose your plates wisely: square and rectangular plates are usually more difficult to photograph than round plates. It’s also easier to work with a salad plate than with a full-size dinner dish, as you won’t have to worry about filling up any unnecessary space on your plate and the food itself will look more appealing. Patterns and bright colors can be a great way to add character to ordinary food, but it’s better that the plate doesn’t distract from your subject.
- give personality to the dishes with accessories: napkins, cutlery, glass and other elements can complete the composition and make the photos more captivating. It is worth remembering the color. However, as with food, avoid using so many toppings that you lose sight of the purpose: food should always be the star,
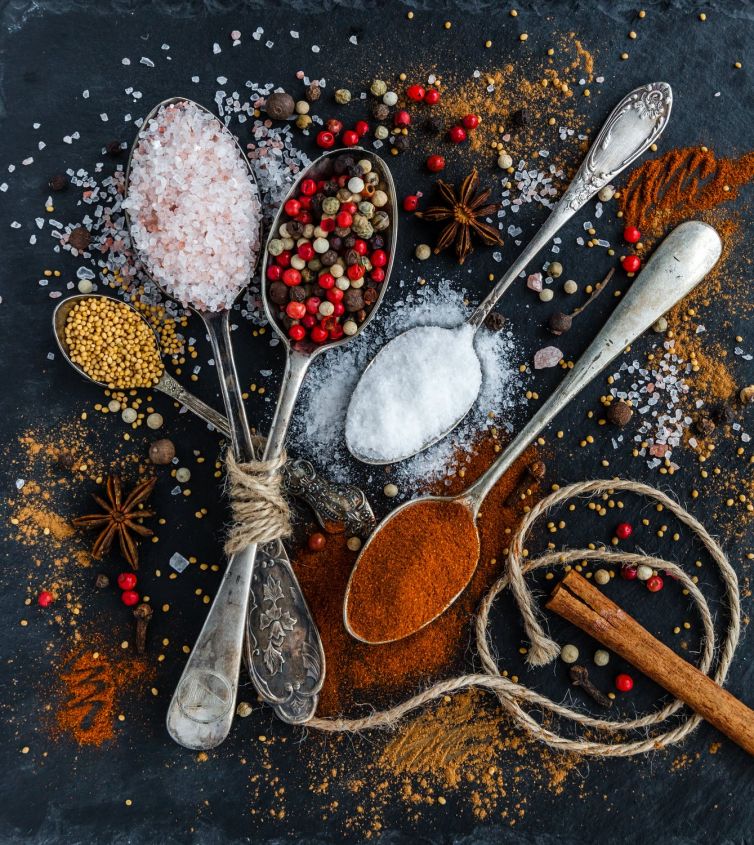
- decorate the dish: all you have to do is put some herb on the plate and you will completely change the picture of a boring soup. Adding herbs, spices and additives can be a great way to diversify dishes, even the ugliest ones,
- get creative: maybe you used the boring yellow chopping board too many times and the picture is not good. Take a piece of wood, paint to your liking and you have a new photo surface. Tablecloths, placemats and stone slabs are also a great alternative to a kitchen table or countertop,
- make sure your accessories are clean: dirty spoons and used napkins don’t look good in photos either. Double-check that you haven’t left anything in the background that you don’t want to show in the photo,
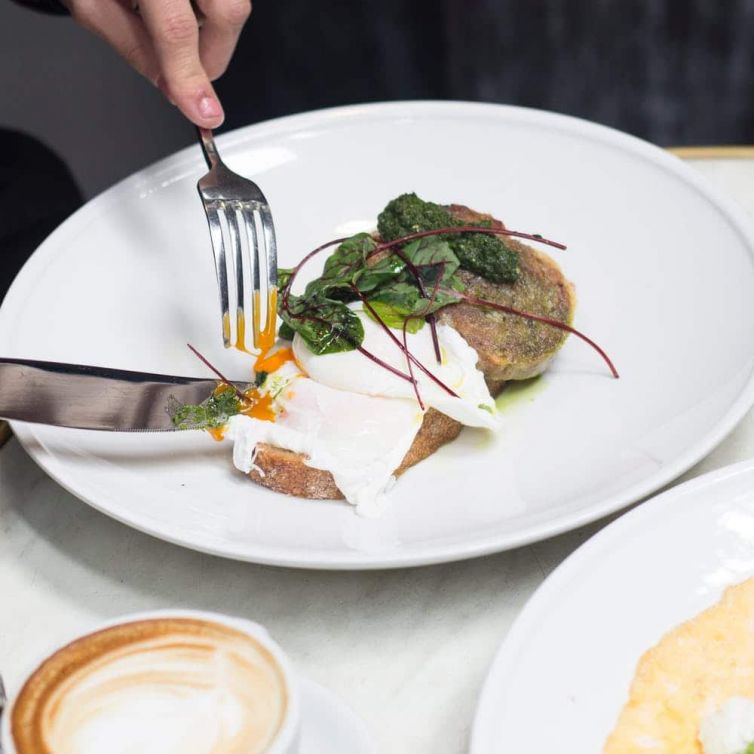
- Interact with food: If the shot of the dish on the plate feels flat, consider asking someone to pick up a fork or spoon and concentrate on it – but make sure their fingers are clean and relatively well manicured if they do get into the frame.
7. Culinary photography – what to photograph?
A great photo is never created by accident – you may not know why it’s unique or how you took it that way, but you certainly used some basic rules to make it so.
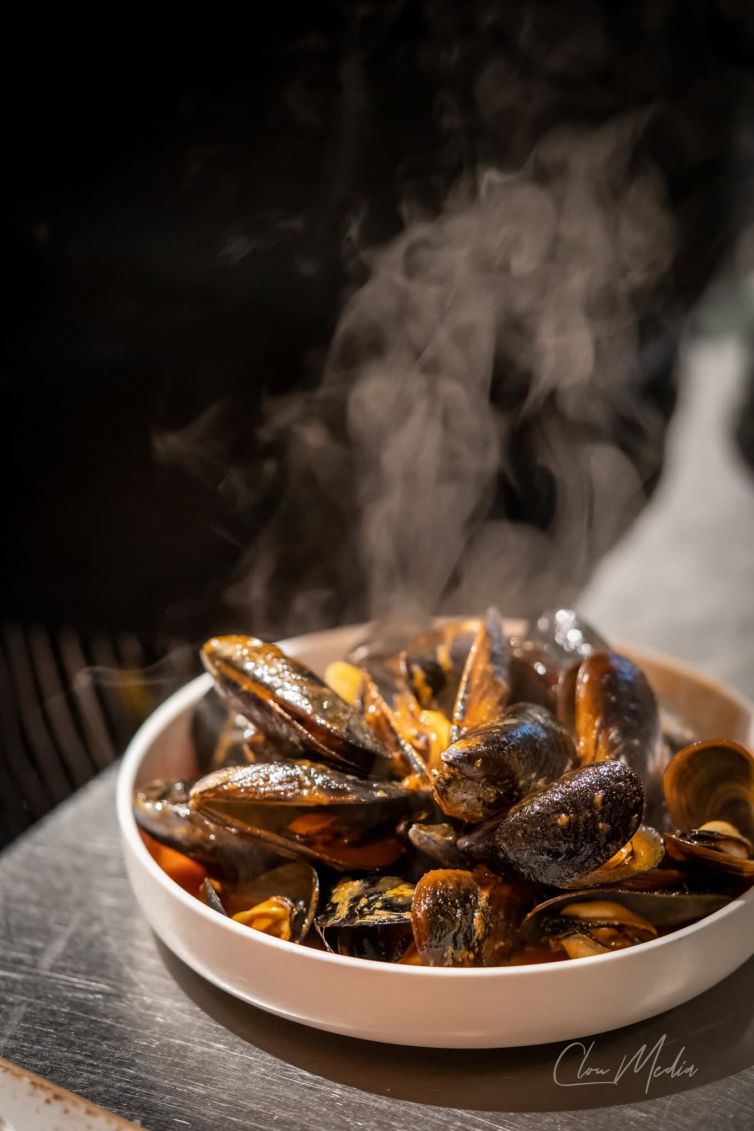
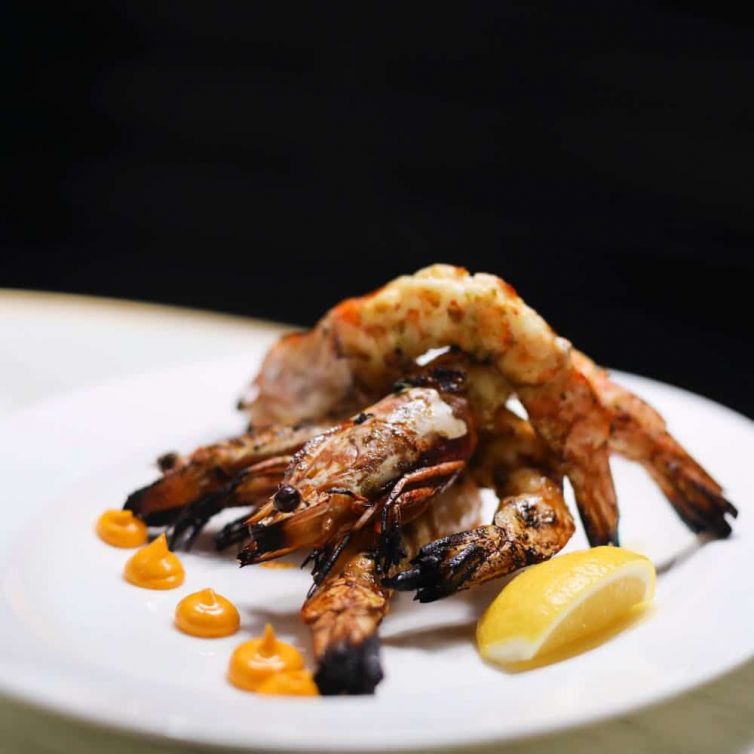
Composition, lighting and styling that apply whether you’re using a digital SLR, a simple point-and-shoot camera, or a smartphone is the way to a successful photo. Professional cameras and lenses – as long as you know how to use them – can make a great photo easier, but by no means are they essential. What distinguishes photos worthy of a magazine or a cookbook from less glamorous counterparts is not a fancy camera or expensive equipment. It is understanding what is needed to compose an attractive image and confidence in fulfilling your vision. First of all, a good photo of a food should appeal to its best qualities and the inherent deliciousness associated with it. Food colors and textures should be celebrated, not muted or hidden.
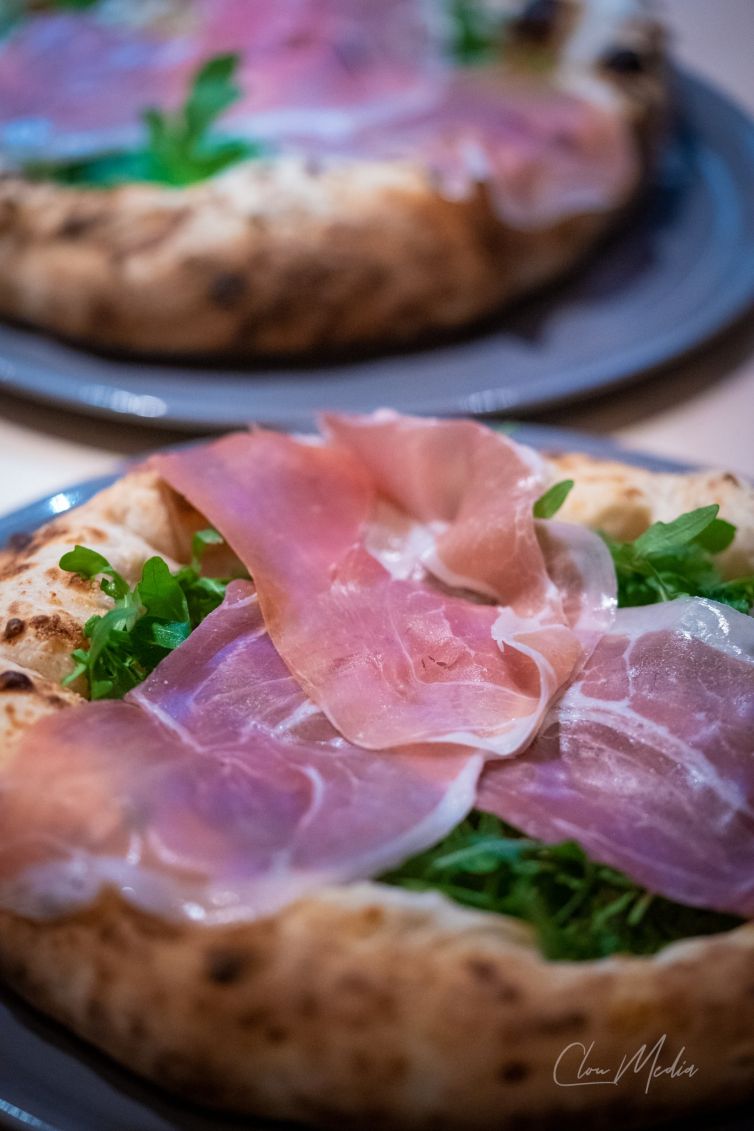
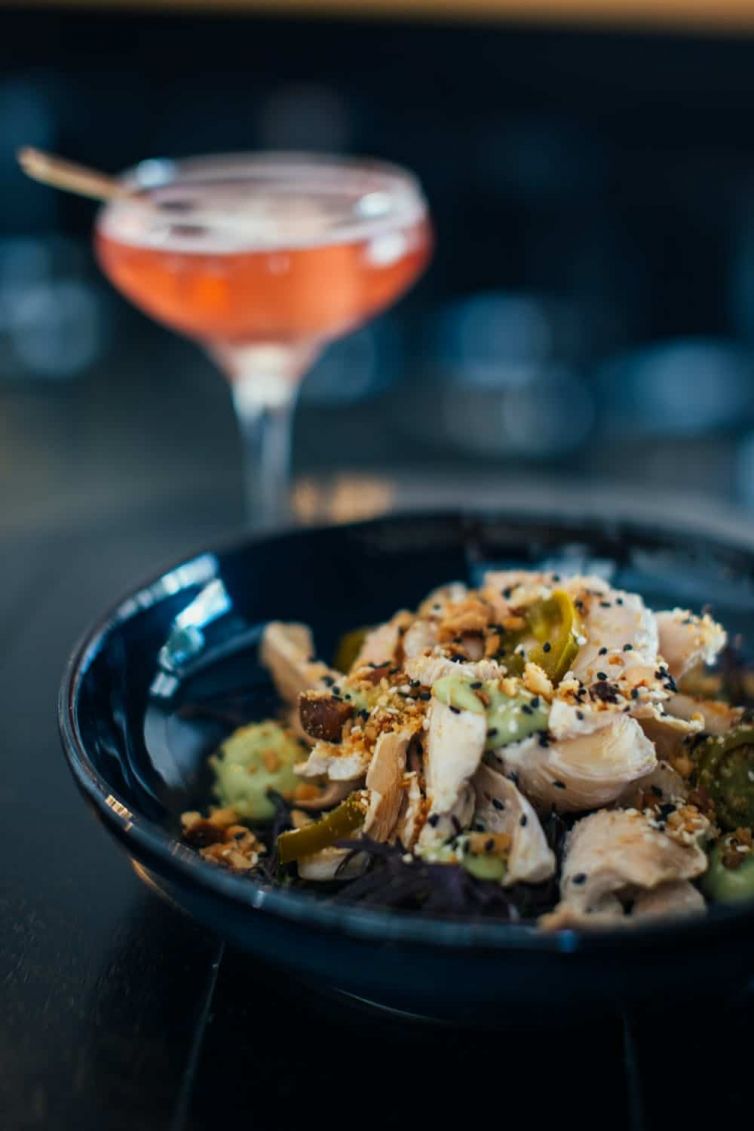
In the case of food photography, you usually want only part of the subject to be in focus and the rest to be a soft blur. To do this, choose the largest aperture your lens allows. At f / 2.8, the opening in the lens is physically wide open, creating a so-called shallow depth of field. The effect will be enhanced if you use a lens with a longer focal length and get closer to the food.
What lens will work in the art of culinary photography? The longer the focal length, the narrower the angle of view, or “less fit in the frame,” if you take a picture with a 50mm lens and more if you use a 35mm lens. For culinary photography, you should choose a lens with a maximum focal length of about 100 mm. Each longer one will require you to move far away from the table on which you will place the dish. The longer the focal length, the smaller the depth of field, i.e. the background will be more blurred, and this effect is often desired in culinary photography. What counts here is the detail of photos – so the lens must be sharp, the detail counts – it’s good that the lens should have a short focusing distance or be a macro glass. For culinary photography you should equip yourself with at least two glasses: classic 50 mm with f / 1.4 or f / 1.8 light, and something wider – minimum 35 mm. Many professionals choose longer lenses, such as 90mm with f / 2.8 light.
8. Culinary photography – a delicious summary
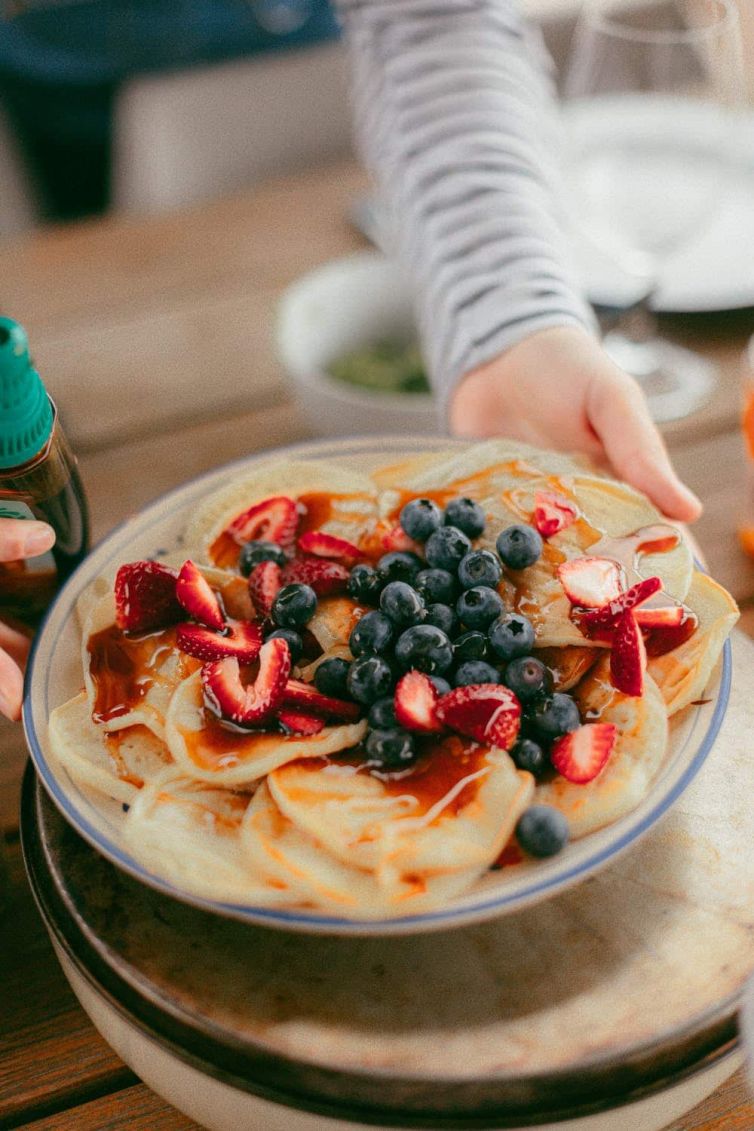
Taking great photos of food is a difficult skill – after all, only some photographers are lucky to get paid for them. The times, however, are such that it is much easier to improve your skills, photograph, try different ways to make the photos as appetizing as their heroes. Professional culinary photographers have been perfecting their profession for years. Therefore, they carefully guard the tricks and tricks, thanks to which their photos arouse admiration and the dishes are desirable. Among the many such tricks are, among other things, to make your cooking photos look real rather than staged, add some crumbs next to the plate of the dish. This imperfection may seem strange at first, but it adds visual charm. A little cheese sprinkled on the plate is the easiest way, while to make the vegetables sparkle, brush them with a little olive oil or sprinkle the lettuce with water, they will look fresh. To make the pancake tower look plump, small pieces of thick cardboard are used between the pancakes, which visually makes the pancakes look plump.
Certainly, photography is not only demanding but also gives a lot of fun, so don’t get discouraged, just test and take a lot of pictures. Let us know in the comment or do you also use any tricks?


